


Crochet Braided Cable Blanket: Free Pattern
When a friend of mine asked if I could make a blanket for her baby - but not a baby sized blanket, a big one that will grow with him - my answer was a resounding “Yes!” However, I wasn’t sure that I wanted to write the pattern myself and set about searching for the PERFECT one for this special little boy. I stumbled across a beautiful crochet cable blanket pattern by another crochet blogger and began stitching feverishly away. Of course, I didn’t bother choosing the same weight yarn, same size hook, or any of the small things that would make the pattern turn out the size she intended, so I adjusted a few things here and there to make the pattern work for what I needed. I also discovered a few small details about how the cables were stitched that I didn’t love and altered them slightly. I will not write the full pattern here, because the majority of it is from her beautiful, creative mind, so I will simply link the full pattern here.

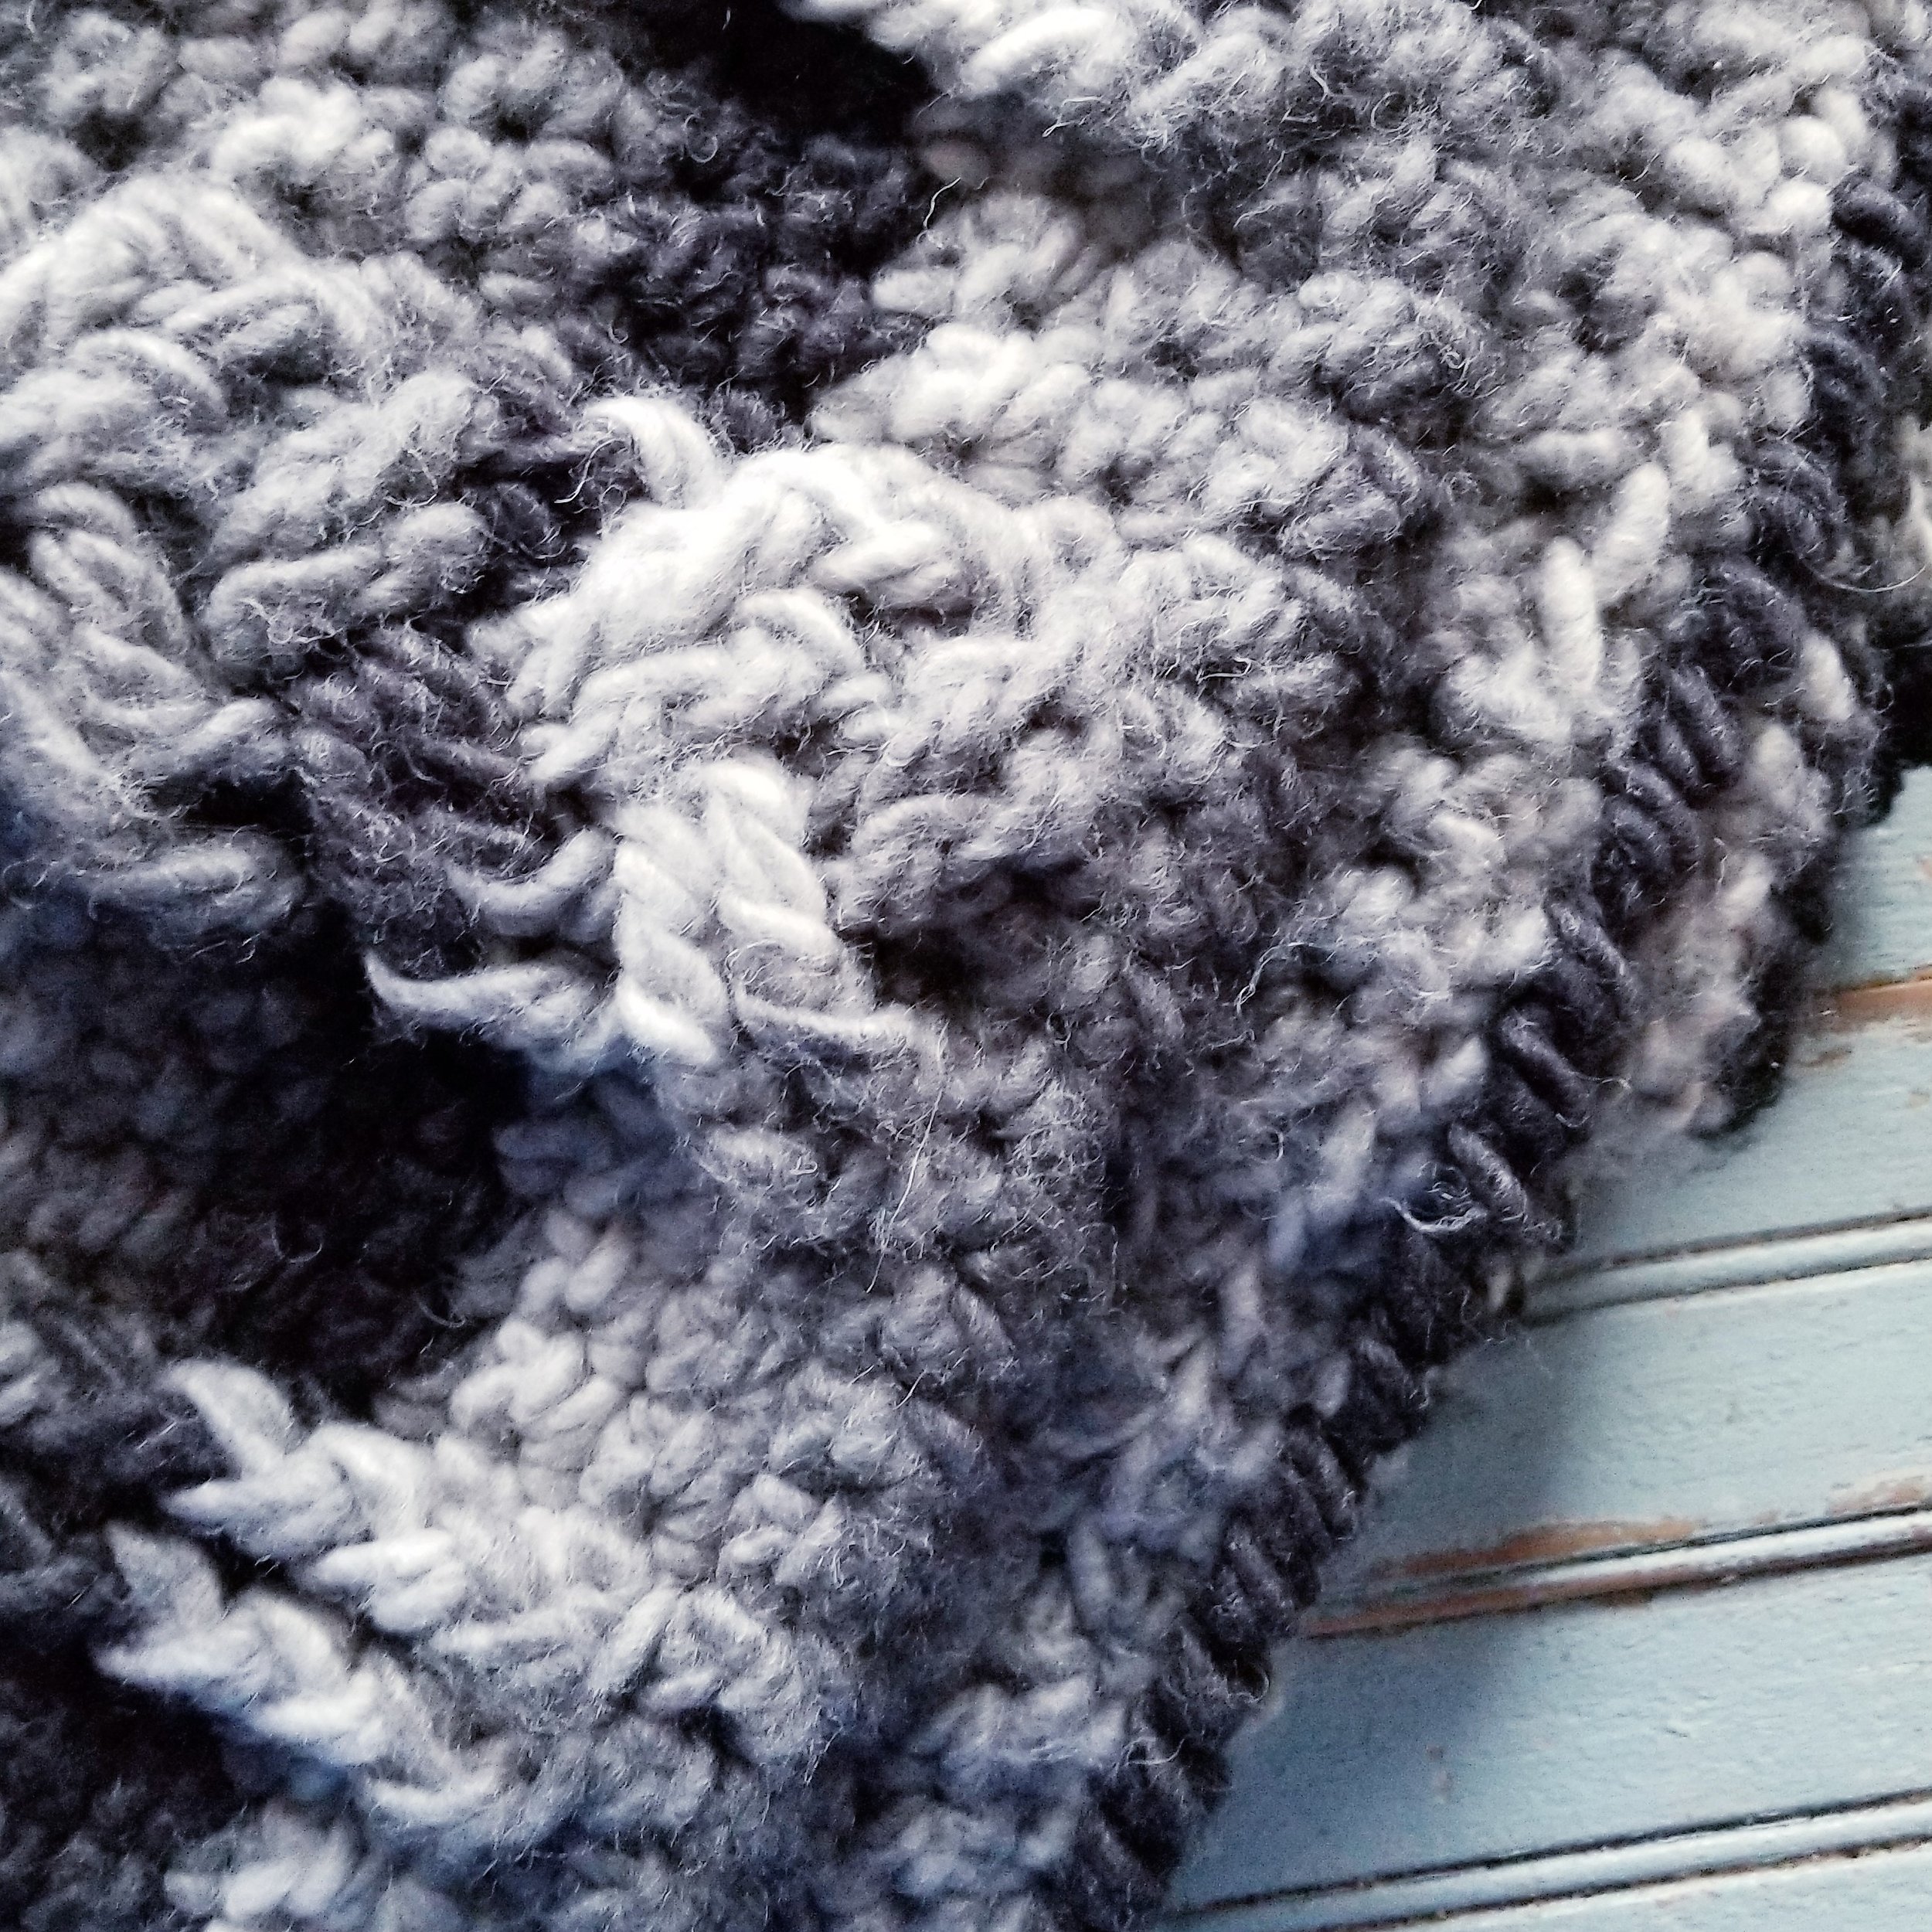
Crochet braided cables blanket
I used the Yarn Bee Turin yarn in the color Granite. The self-striping colorway gave such a unique appearance to the blanket - I instantly fell in love! Due to the weight of the yarn (bulky, 6) and the fiber content (a wool blend), the blanket turned out super warm and heavy! I’ll be honest, it feel more appropriate as a couch throw than a baby blanket, but that is what my friend wanted! I know she will enjoy cuddling with her sweet boy on these cold winter days under this wool throw.
Since the yarn I used was a tad smaller than the suggested yarn, I also used a different hook. I had an old 18 mm hook laying around, which perfectly worked up my size 6 yarn into these luscious cables. Of course, I recommend using the hook that best suits the yarn you choose.
The blanket in the original pattern only had three sets of cables, but since I used a lighter yarn, I felt three was too narrow. I adjusted the width of the blanket to include five cables - mostly because I like to work in odd numbers whenever possible. Four cables would have worked as well, but I just like the idea of having a center to fold on. Is that weird?

Crochet Braided Cables Blanket
As I worked up the pattern, I noticed that the “wrong side” of the blanket formed odd ridges from the front post stitches used to make the cables. Although the ridges are mentioned as feature in the original pattern, I wasn’t terribly fond of them. I felt they gave the blanket a very definite “wrong side”, so it could only be displayed from the front. I wanted the blanket to have a smooth, simple back that didn’t draw attention away from the beautiful cabling on the front.
I also noticed that at the start and end of each cable, my blanket was developing gaps between the stitches. I very much wanted a tight stitch pattern, without holes or gaps for little toes to get stuck in. After working through the pattern with various techniques, I stumbled across what seemed the perfect solution for me.
1. Modified Braided Cable (smooth wrong side)
When working the row of single crochets on the wrong side, I decided to pick up the back loop of the row below the one I am working on, then made my single crochet through both loops of the stitch the pattern called for me to work in.
So, to break it down, if I am working in row 4, I would dip down to row 2, pick up the back loop, then complete the single crochet through both loops of the stitch on row 3 that I should be working in.

How to keep the reverse of the braided cable smooth
With all four loops on my hook, I finally pick up a loop to complete the single crochet.
To achieve a smooth wrong side, I used the method in the diagram above every place I put a front post stitch. So, since the pattern calls for two front post stitches between each cable, I used this method to make sure I didn’t have ridges there, either.

Modified Braided Cable (wrong side)
2. Crab Stitch Edging
The original pattern calls for a basic single crochet edging to finish off the pattern. Not long ago, I stumbled across the crab stitch or reverse single crochet edging method. Officially the BEST EDGING EVER. I love how easy and simple it is to make, but how professional and finished the final edge is using this method. By working BACKWARDS across your work, you create a twisted cord-looking edging.
Crab Stitch or Reverse Single Crochet
At the end of the final row, chain one, DO NOT TURN. insert hook in the stitch you just finished and complete a single crochet in that stitch. Continue working single crochet from left to right (instead of right to left, as normal). The yarn will form this beautiful corded edging. If you want, check out this YouTube video for more details.
I am so thrilled with how this braided cable blanket turned out! I love this pattern so much, I think I need to make one for myself! If you love free crochet patterns, stick around and check out a few of my other ones!
For more crochet inspiration and diy fun, join me on Instagram!

Braided Cable Throw


