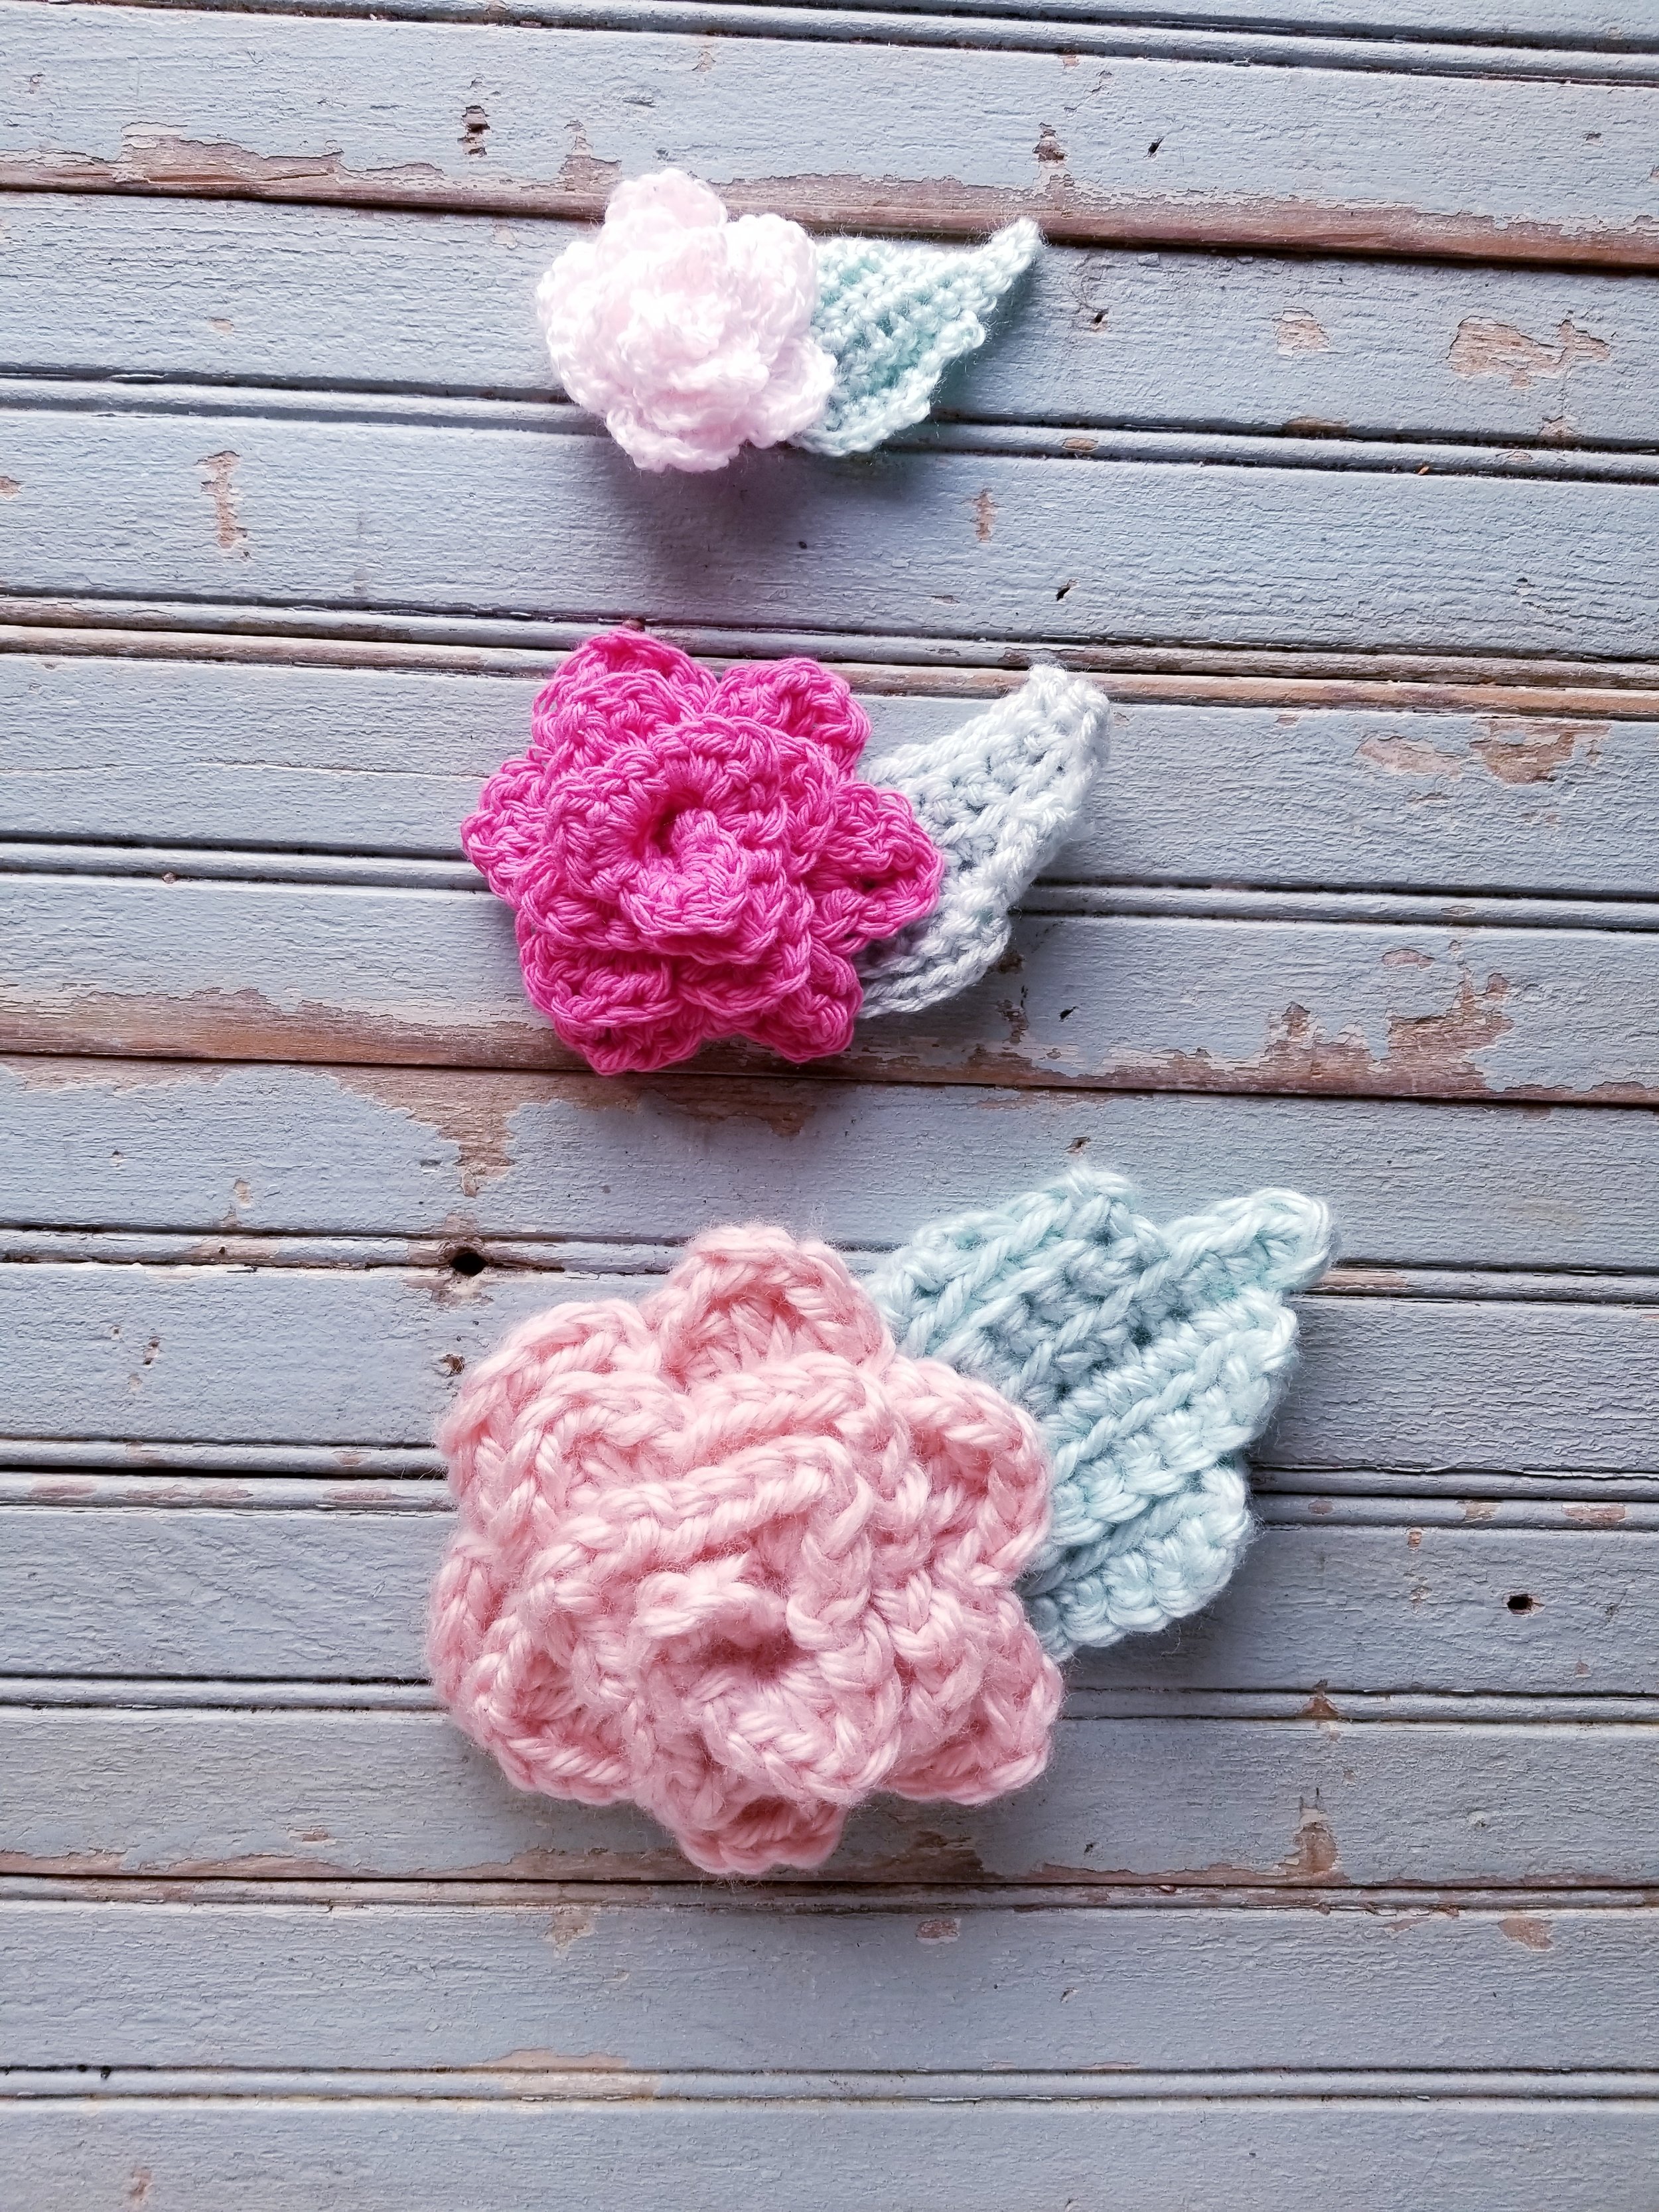
Crochet Rosettes: Free Pattern!
I’m always looking for the perfect crochet rosette pattern! I love using them in DIY’s, as little embellishments on amigurumi, or to make flower crowns for the girls! The perfect crochet rosette, for me, needs to be quick and easy to make, have lots of texture, and also be incredibly versatile! I believe I have finally found/created the perfect crochet rosette pattern! I have several DIY’s lined up for these beauties, so stay tuned!
Crochet Rosettes Free Pattern
This post contains affiliate links. This means I receive a small commission if you purchase using these links. See more details in the Terms of Use.
Materials:
Bulky/6 weight yarn (I used Hometown USA by Lion Brand) in Color A and Color B
8.00 mm hook
Yarn Needle (I have this set, but have had my eye on these!)
or
Worsted/4 weight yarn (I used Sugars n’ Cream cotton) in Color A and Color B
5.5 mm hook
Yarn Needle
or
Dk/3 weight yarn (I used some baby yarn from my stash - no tag left!) in Color A and Color B
3.75 mm hook
Yarn Needle
Stitches:
Ch- Chain
Sl St - slip stitch
Sc - single crochet
Hdc - half double crochet
Dc - double crochet
Tc - Treble Crochet
Crochet rosettes free pattern and photo tutorial
Notes:
This pattern can be worked with any weight yarn or hook size, since gauge is not important for the outcome of these crochet roses. You can make them as big and glorious as you like, or they can be small and delicate - like an English tea rose!
The instructions for each portion will be below the photo illustrating the steps.
Row 1: Chain 31
Row 2: Sc in 2nd ch from hook and in ea (30sc), ch 1, turn
Row 3: Sc in first st, ch 2, * sk1, sc in next st, ch 2* repeat, sc in last st. (15 ch 2 sp), ch 1, turn
Row 4: *(sc 2, hdc, ch 1, hdc, sc 2) in ch 2 sp* repeat 4 more times. *(hdc 2, dc, ch 1, dc, hdc 2) in next ch 2 sp* repeat 4 more times. (dc 2, tc, ch 1, tc, dc 2) in next ch 2 sp* repeat 4 more times. [5 (sc 2, hdc, ch1, hdc, sc 2) petals; 5 (hdc 2, dc, ch 1, dc, hdc 2) petals; 5 (dc 2, tc, ch 1, tc, dc 2) petals).
Fasten off, leaving a long tail.
Fold the rose petals against each other, slowly rolling it up. Make sure the sc row lines up neatly - you will need to stitch through it soon. I had to squish the petals tightly and hold them pretty firmly to keep the sc row lined up properly.
Thread the long tail into your yarn needle. Stitch through the base of the rose to secure its shape. You will need to make several stitches like the one pictured, working your way around the rose.
Now that you have completed your beautiful crochet rose, let’s make a leaf or two! The leaves are possibly the easiest leaf pattern I’ve ever used! Of course, you can find more detailed crochet leaf patterns, but this is perfect for the project you need to complete quickly. It has enough detail and texture to look stunning, but you can make it in under five minutes!
Row 1: Ch 11
Row 2: Working in back loop only of ch, sc in 2nd ch from hook and in next 8, 3 sc in last ch to make turn. Sc 7 in front loops only of ch.
Row 3: ch 1, turn, working in front loops only, sc 8, 3 sc through both loops of next st to make the turn, sc 7 in front loops only.
Row 4: ch 1, turn, sc 8 in back loops only, sc 3 in both loops of next st, sc 7 in back loops only.
Row 5: ch 1, turn, sc 8 in front loops only, 2 sc in both loops of next two st, sc 6 in front loops only. Fasten off, weave in ends.
Simple and delicate, these farmhouse inspired roses are the perfect adornment for a wreath, bed canopy, or even scattered across a simple baby blanket. I can’t wait to show you the bed canopy I am making with these crochet rosettes!
If you liked this pattern, please check out my other ones!
As usual, these photos and this pattern was created by Rebekah Haas. Please do not copy or sell this pattern without permission of the designer. You are, as always, free to sell anything you make from this pattern. I hope you share photos of your creation! If you do, please tag me on Instagram or Facebook!


