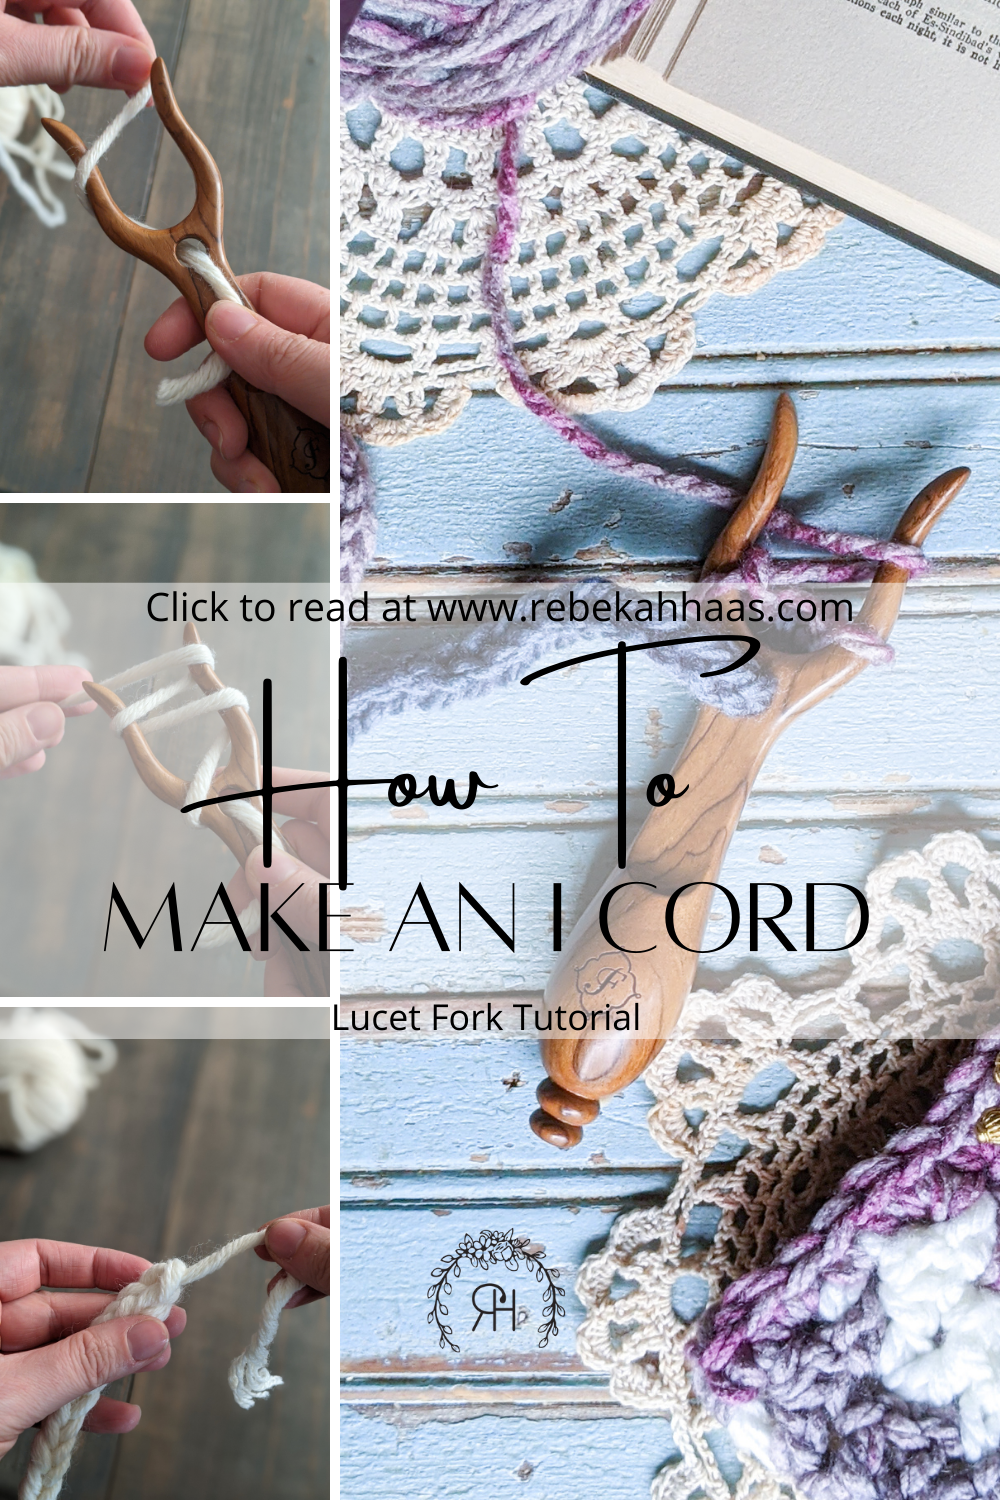
How to Use a Lucet Fork to Make and I-Cord
But wait, what IS an I-cord??? Simply, the I-cord is a knitted tube. “Well, hey, now,” You might be saying, “This is a CROCHET blog. We are here to CROCHET.” Don’t worry! I didn’t forget! The I-cord has a long and venerable history and a multitude of functional and embellishment purposes that make it well worth learning, even for a crocheter! In fact, you can make an I-cord using a crochet hook, but today I’m going to teach you an even easier way to make the I-cord.
Save this tutorial to Pinterest so you can come back to practice!
How to make an icord with a lucet fork free tutorial
This post contains affiliate links. I receive a small commission from your purchase through these links at no additional cost to you. Please see our Terms of Use for more details.
I-cords are strong, knitted tubular cords originally used to lace up stays or corsets during the Victorian period. In more recent years, they were renamed from “staylaces” to I-cords, an abbreviation of the term “idiot cord” by Elizabeth Zimmerman, one of the most renowned knitters of the 1900’s. She felt they were so ridiculously easy to make, than any idiot should be able to knit them. Haha, well. I still can’t knit one the traditional way, so does that make me the idiot in question?? Elizabeth helped take knitting from its purely utilitarian past and turn it into the hobby it is today.
Why are we still talking about knitting? Don’t worry, we are getting to the point! In more modern makes, we use I-cords to embellish our projects. You can take a twisted I-cord and sew it to the neckline of a sweater for a neat, professional finish. Or you can make an I-cord to belt a ruana pattern (like my Pickens Ruana), or even to add a lace-up, corset style detail to a cowl or cardigan.
Supplies
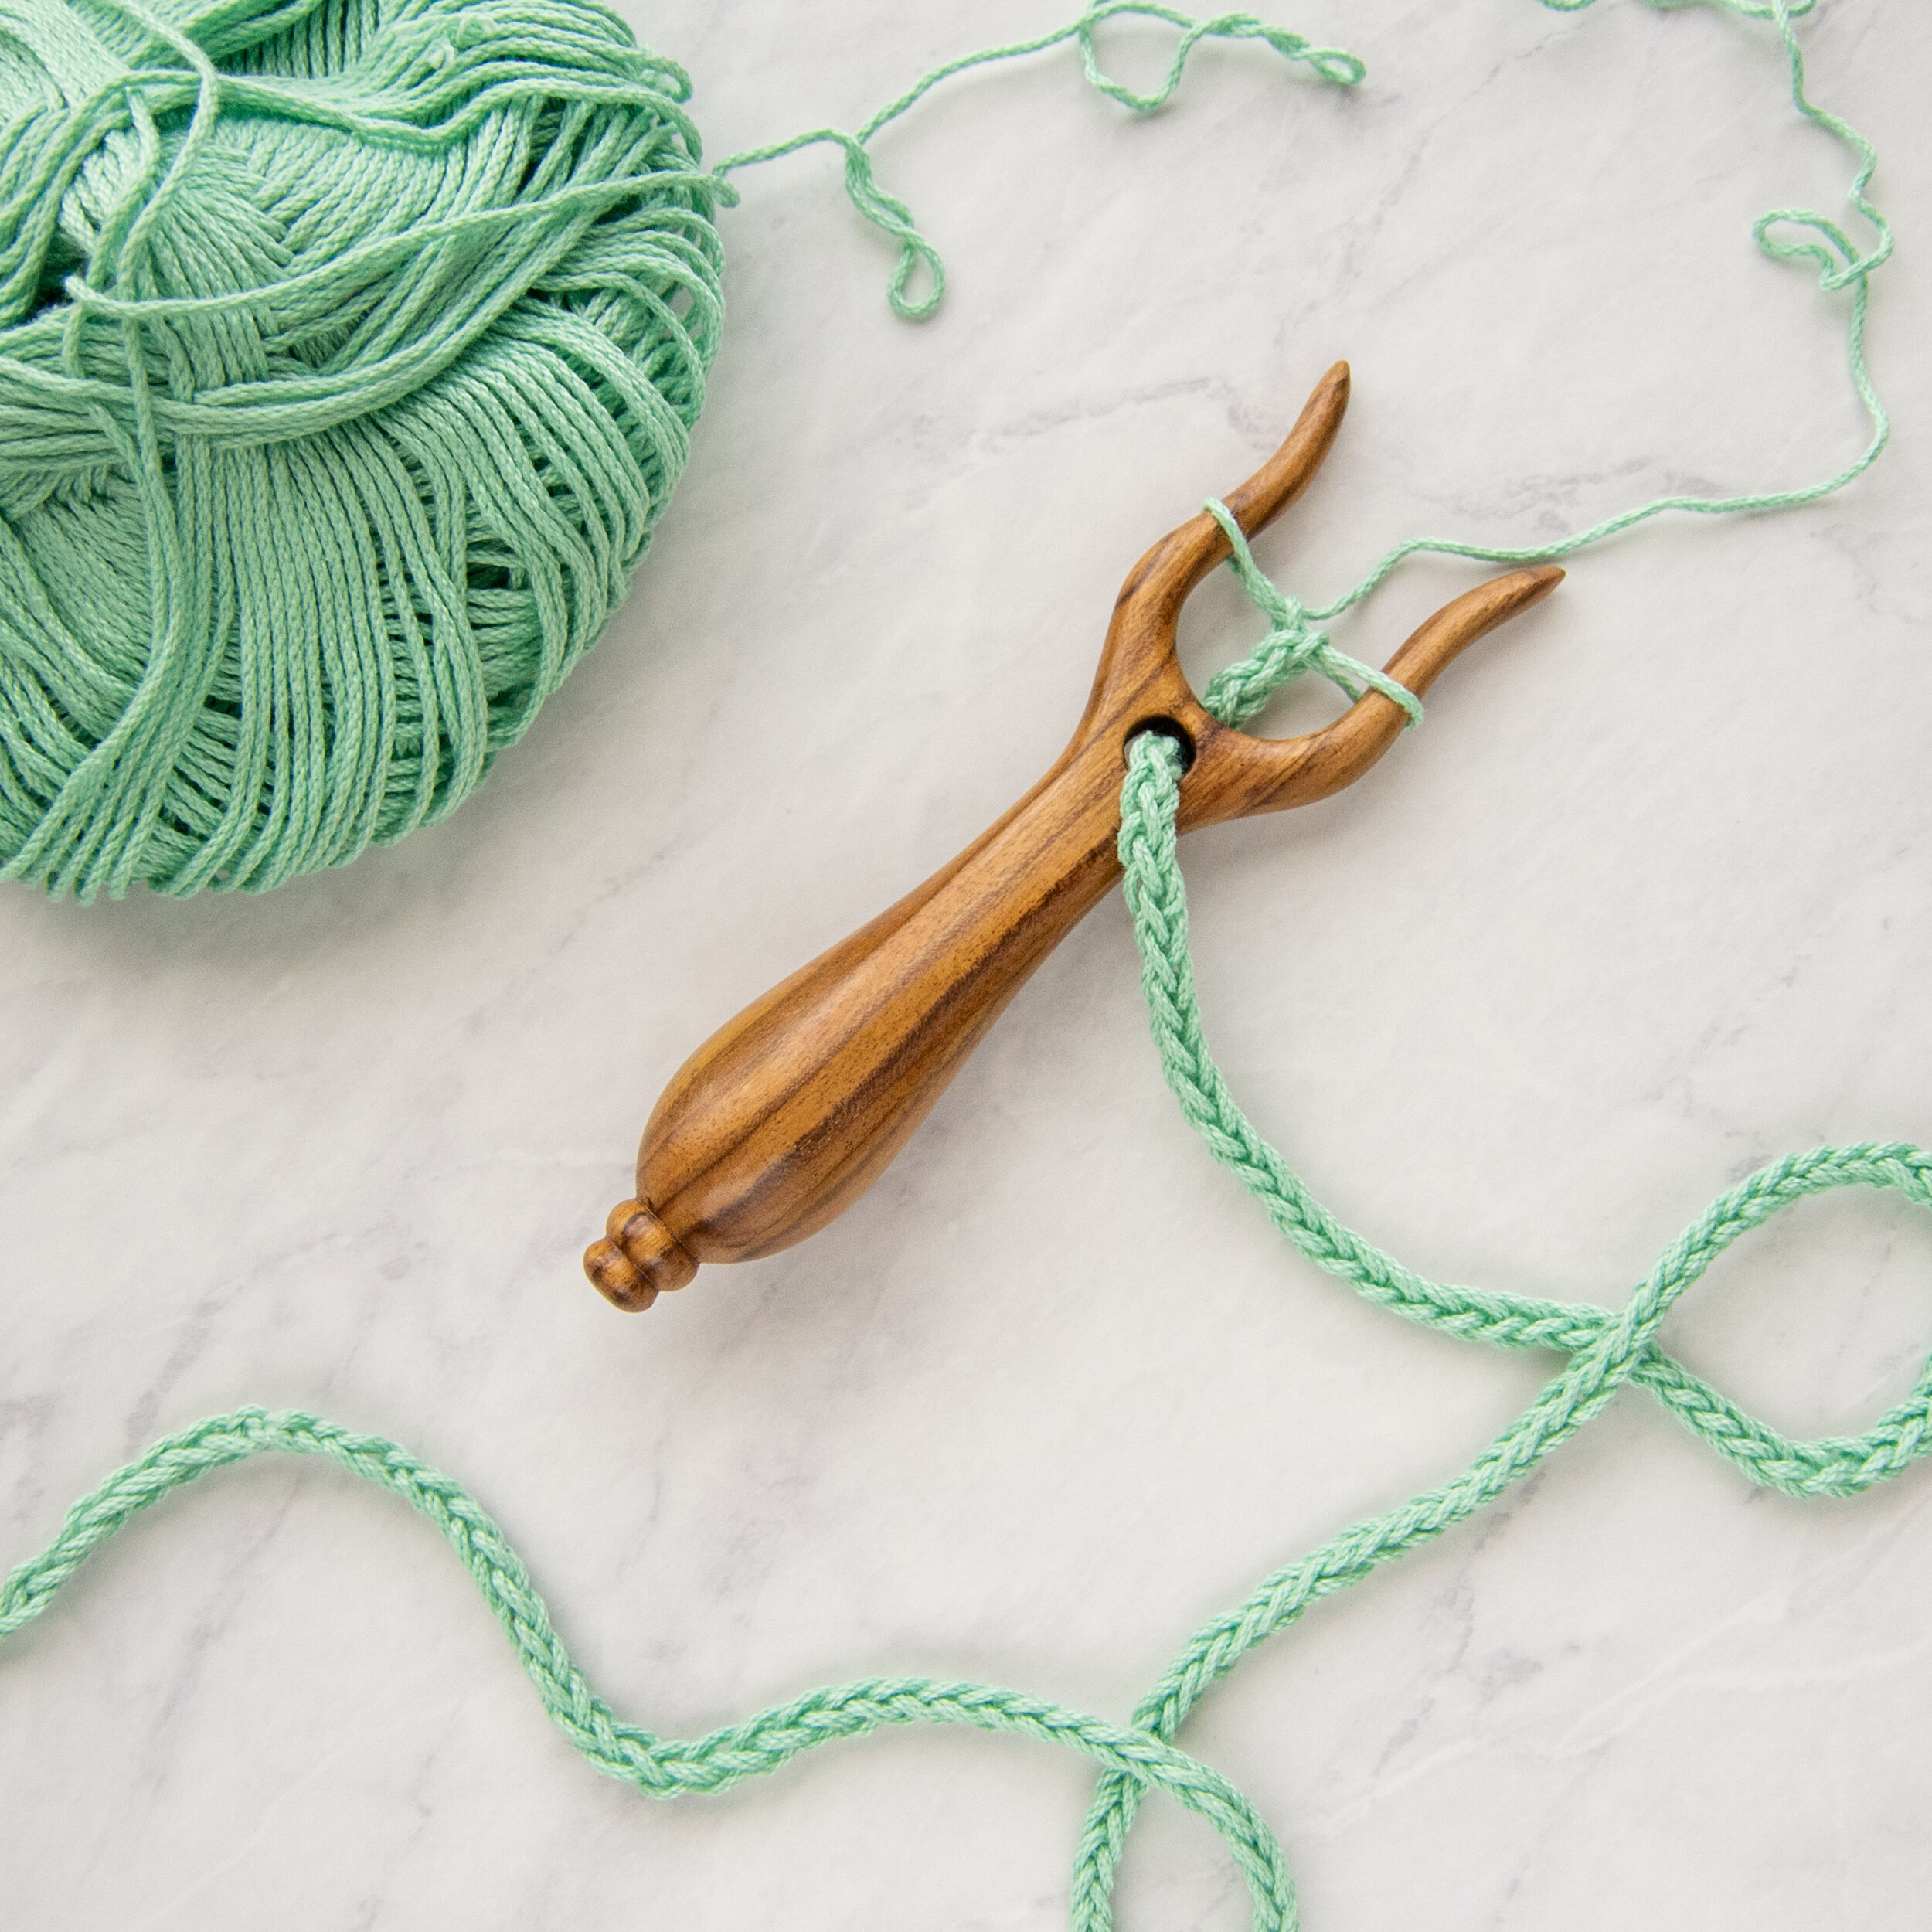
To make the I-cord the simplest way possible (in my opinion), you will need a lucet fork. I’ll be honest, I hadn’t heard of these until recently. When I was designing the Pickens Ruana (pictured above), I wanted to make an I-cord belt for it, but after struggling through the instructions for knitting one, I turned to tutorials for how to crochet one. Turns out, crocheting one is even MORE frustrating than trying to knit one. I gave up on the cord and just made a long chain and single crocheted across. It didn’t have the finished, professional look of an I-cord, so I tossed the idea of making a belt entirely.
Then one of my favorite crochet tools companies launched the lucet fork as a new product on their website. I read the reviews, watched the videos, and realized it was a piece of pure witchcraft - or genius! Since I occasionally design patterns for this company, they offered to send me one to review.
And, y’all, I’m hooked! I sat and wove I-cords on this thing non-stop for a full day. I tried different yarn weights, played around with how to control the tension to get the nicest, most even looking cord. I even made an IGTV video tutorial on how to make a lucet cord!
If you want to include I-cords in your own pattern writing, or want to make patterns that use I-cords, or maybe you just love having all the yarn tools (like me!!!), use the button below to purchase one through Furls Crochet.
Lucet Fork
What yarn do I need to make an I-cord?
You can use any weight or fiber yarn to make the I-cord. I used a bulky yarn to make the I-cord shown in this tutorial, so it would be easy to see. The lucet fork is not limited to bulky yarn only, but works with whatever yarn your pattern calls for. Of course, you will need to adjust your tension differently for different weight yarns, but I will cover that later in this tutorial. My favorite yarns to work with come from We Crochet. Check out their wide varieties of yarn at incredible prices!
How to make an I-cord using the Lucet Fork
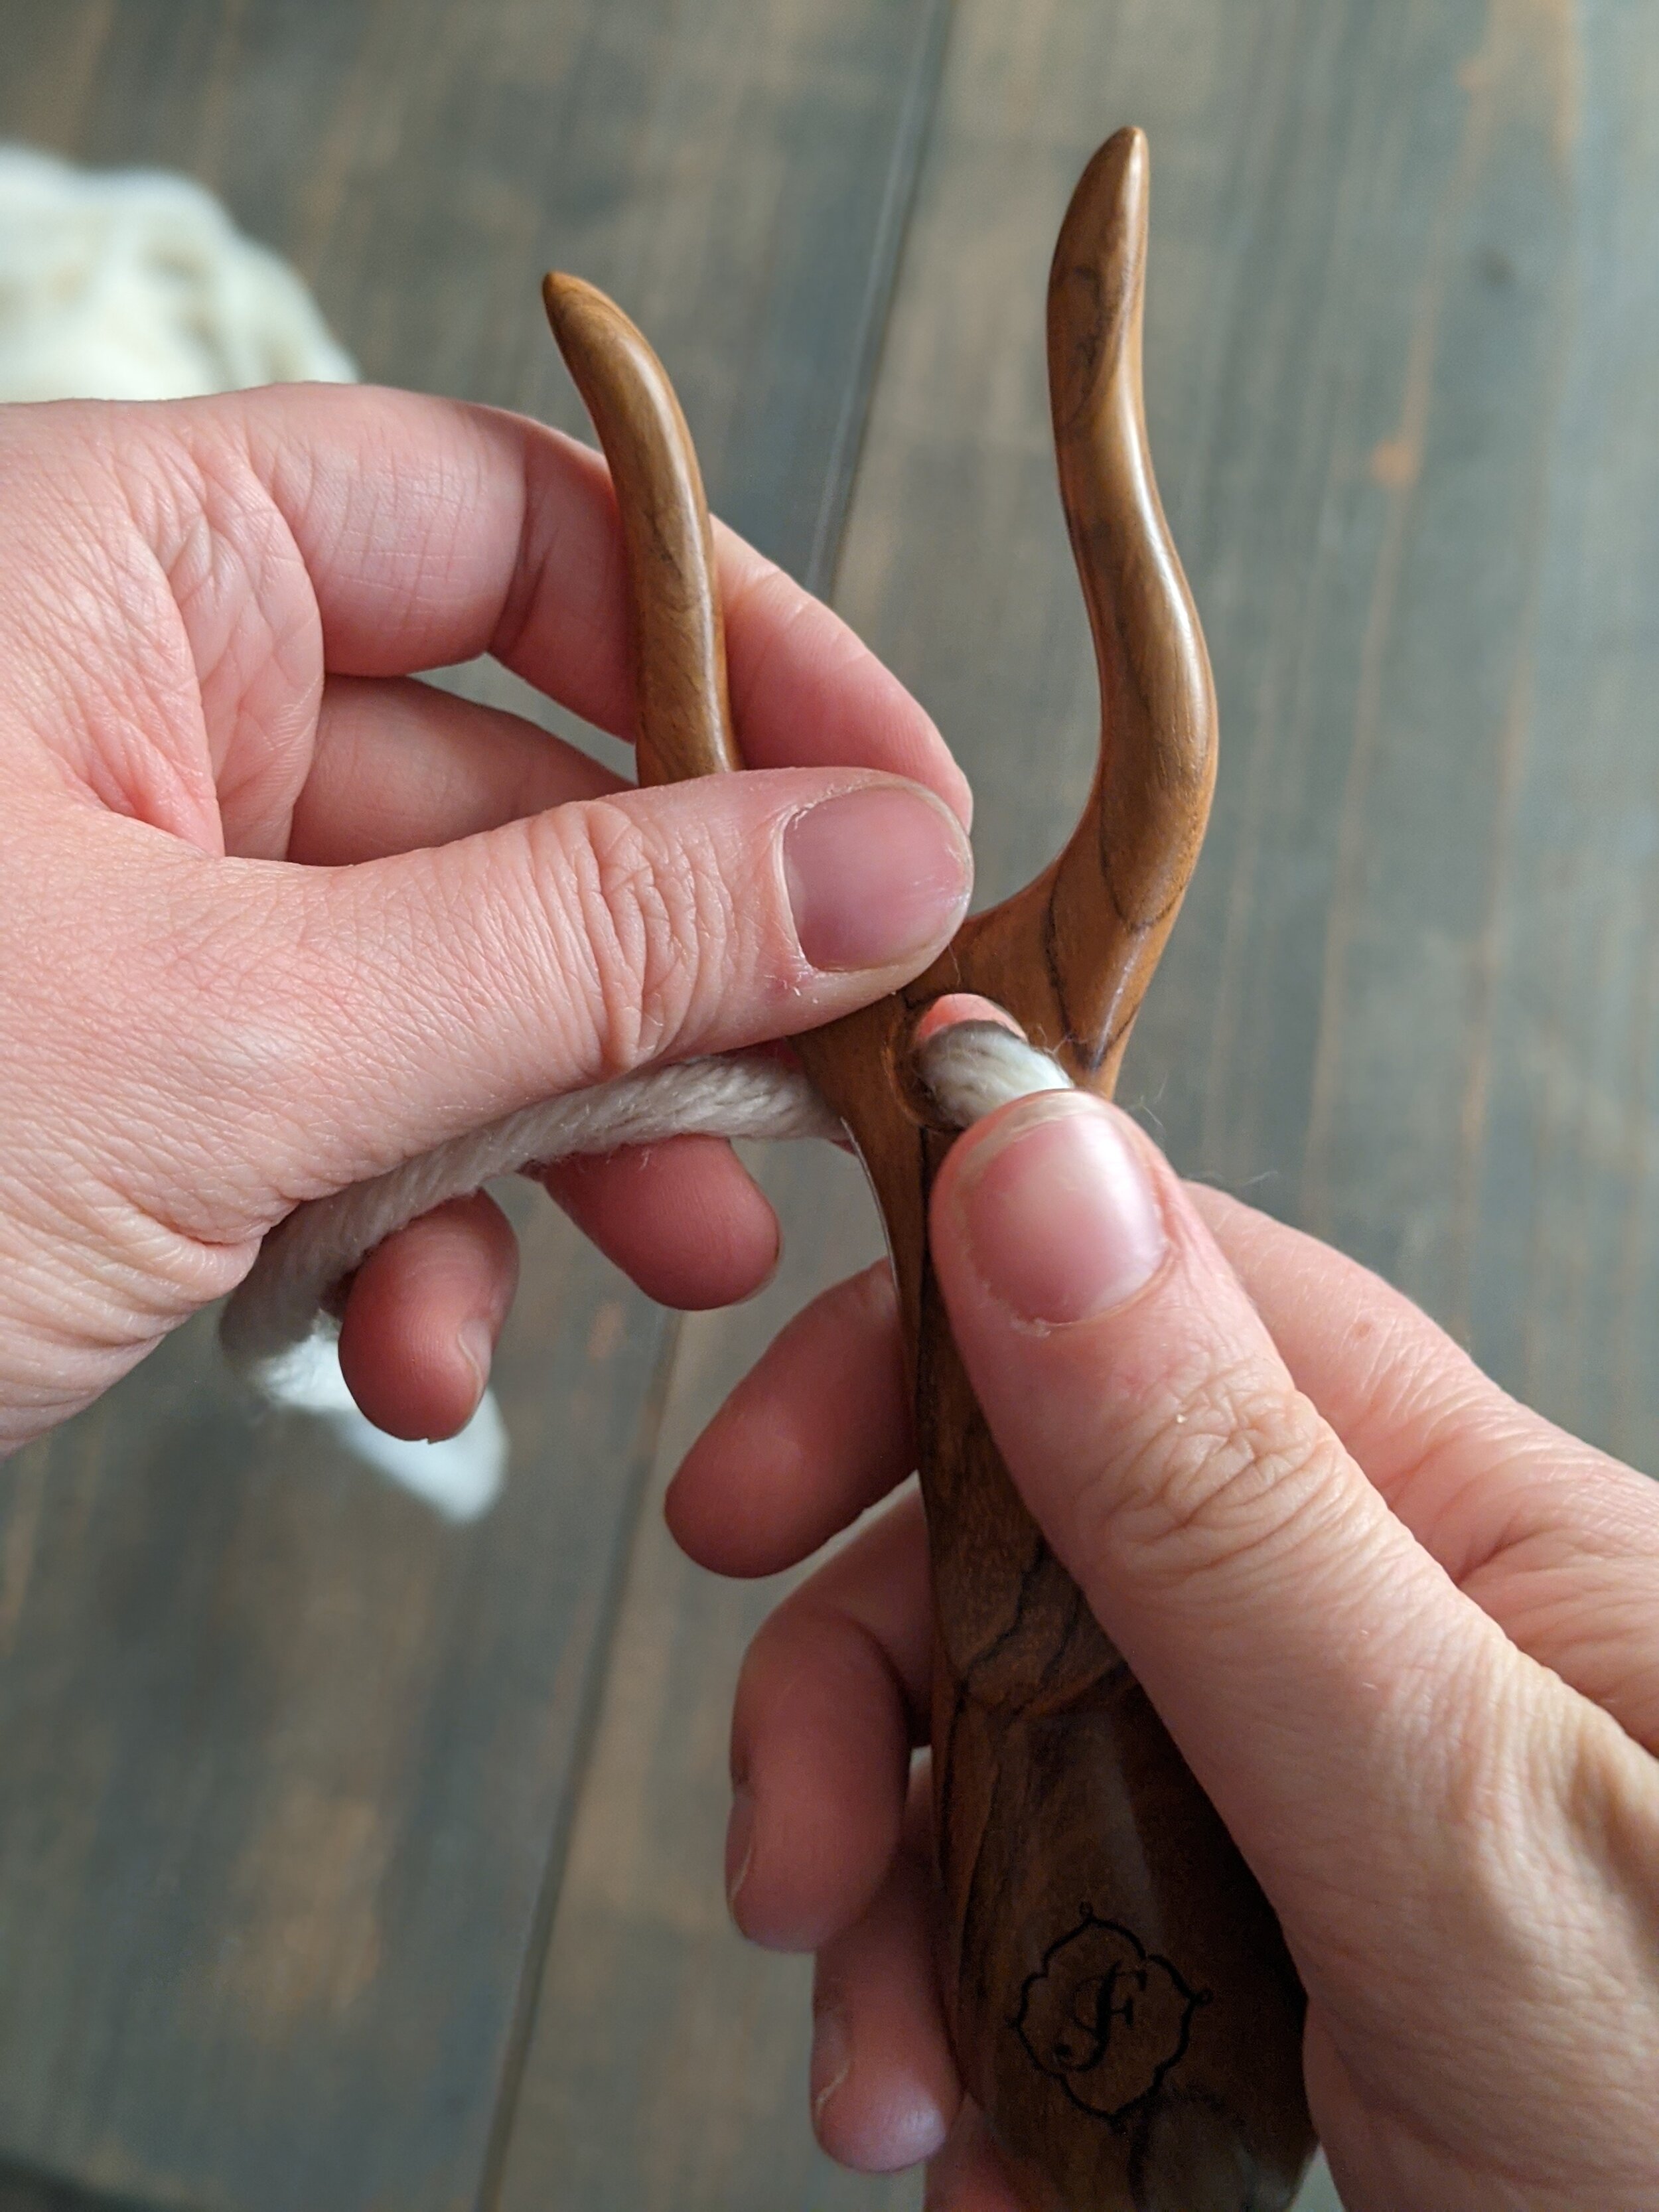
Pull the end through the hole in the base of the lucet fork and secure the end with your thumb.
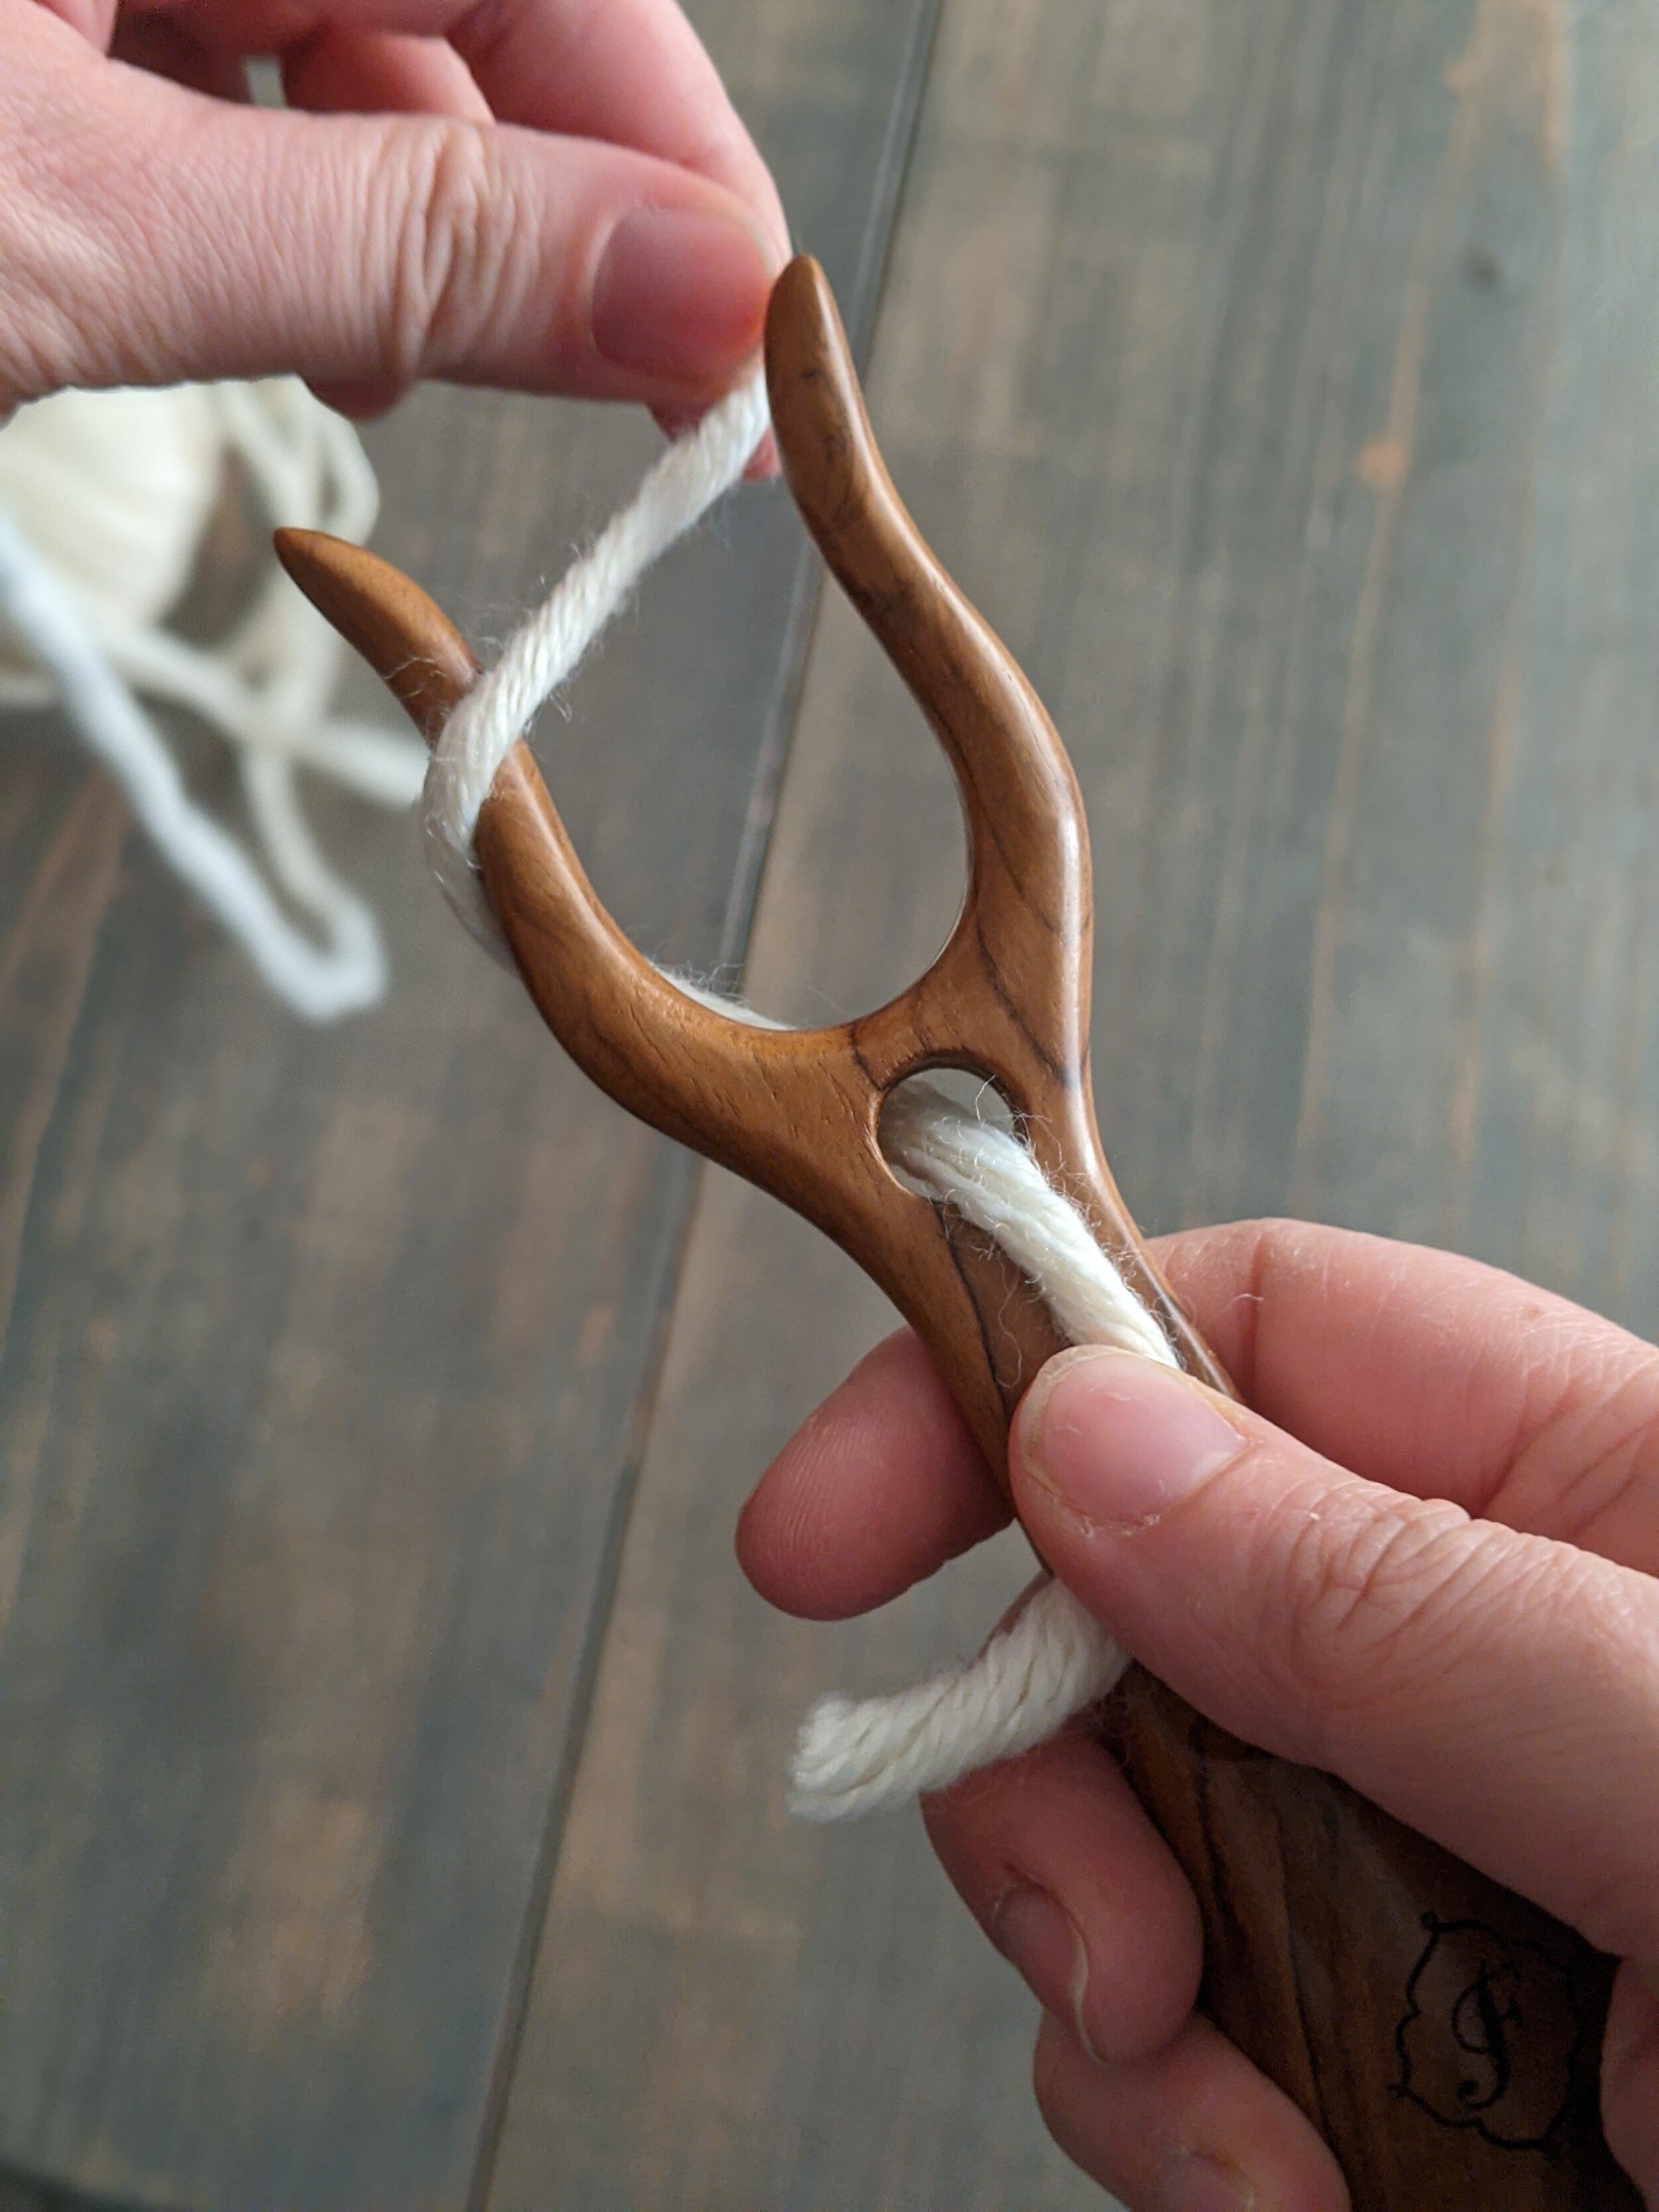
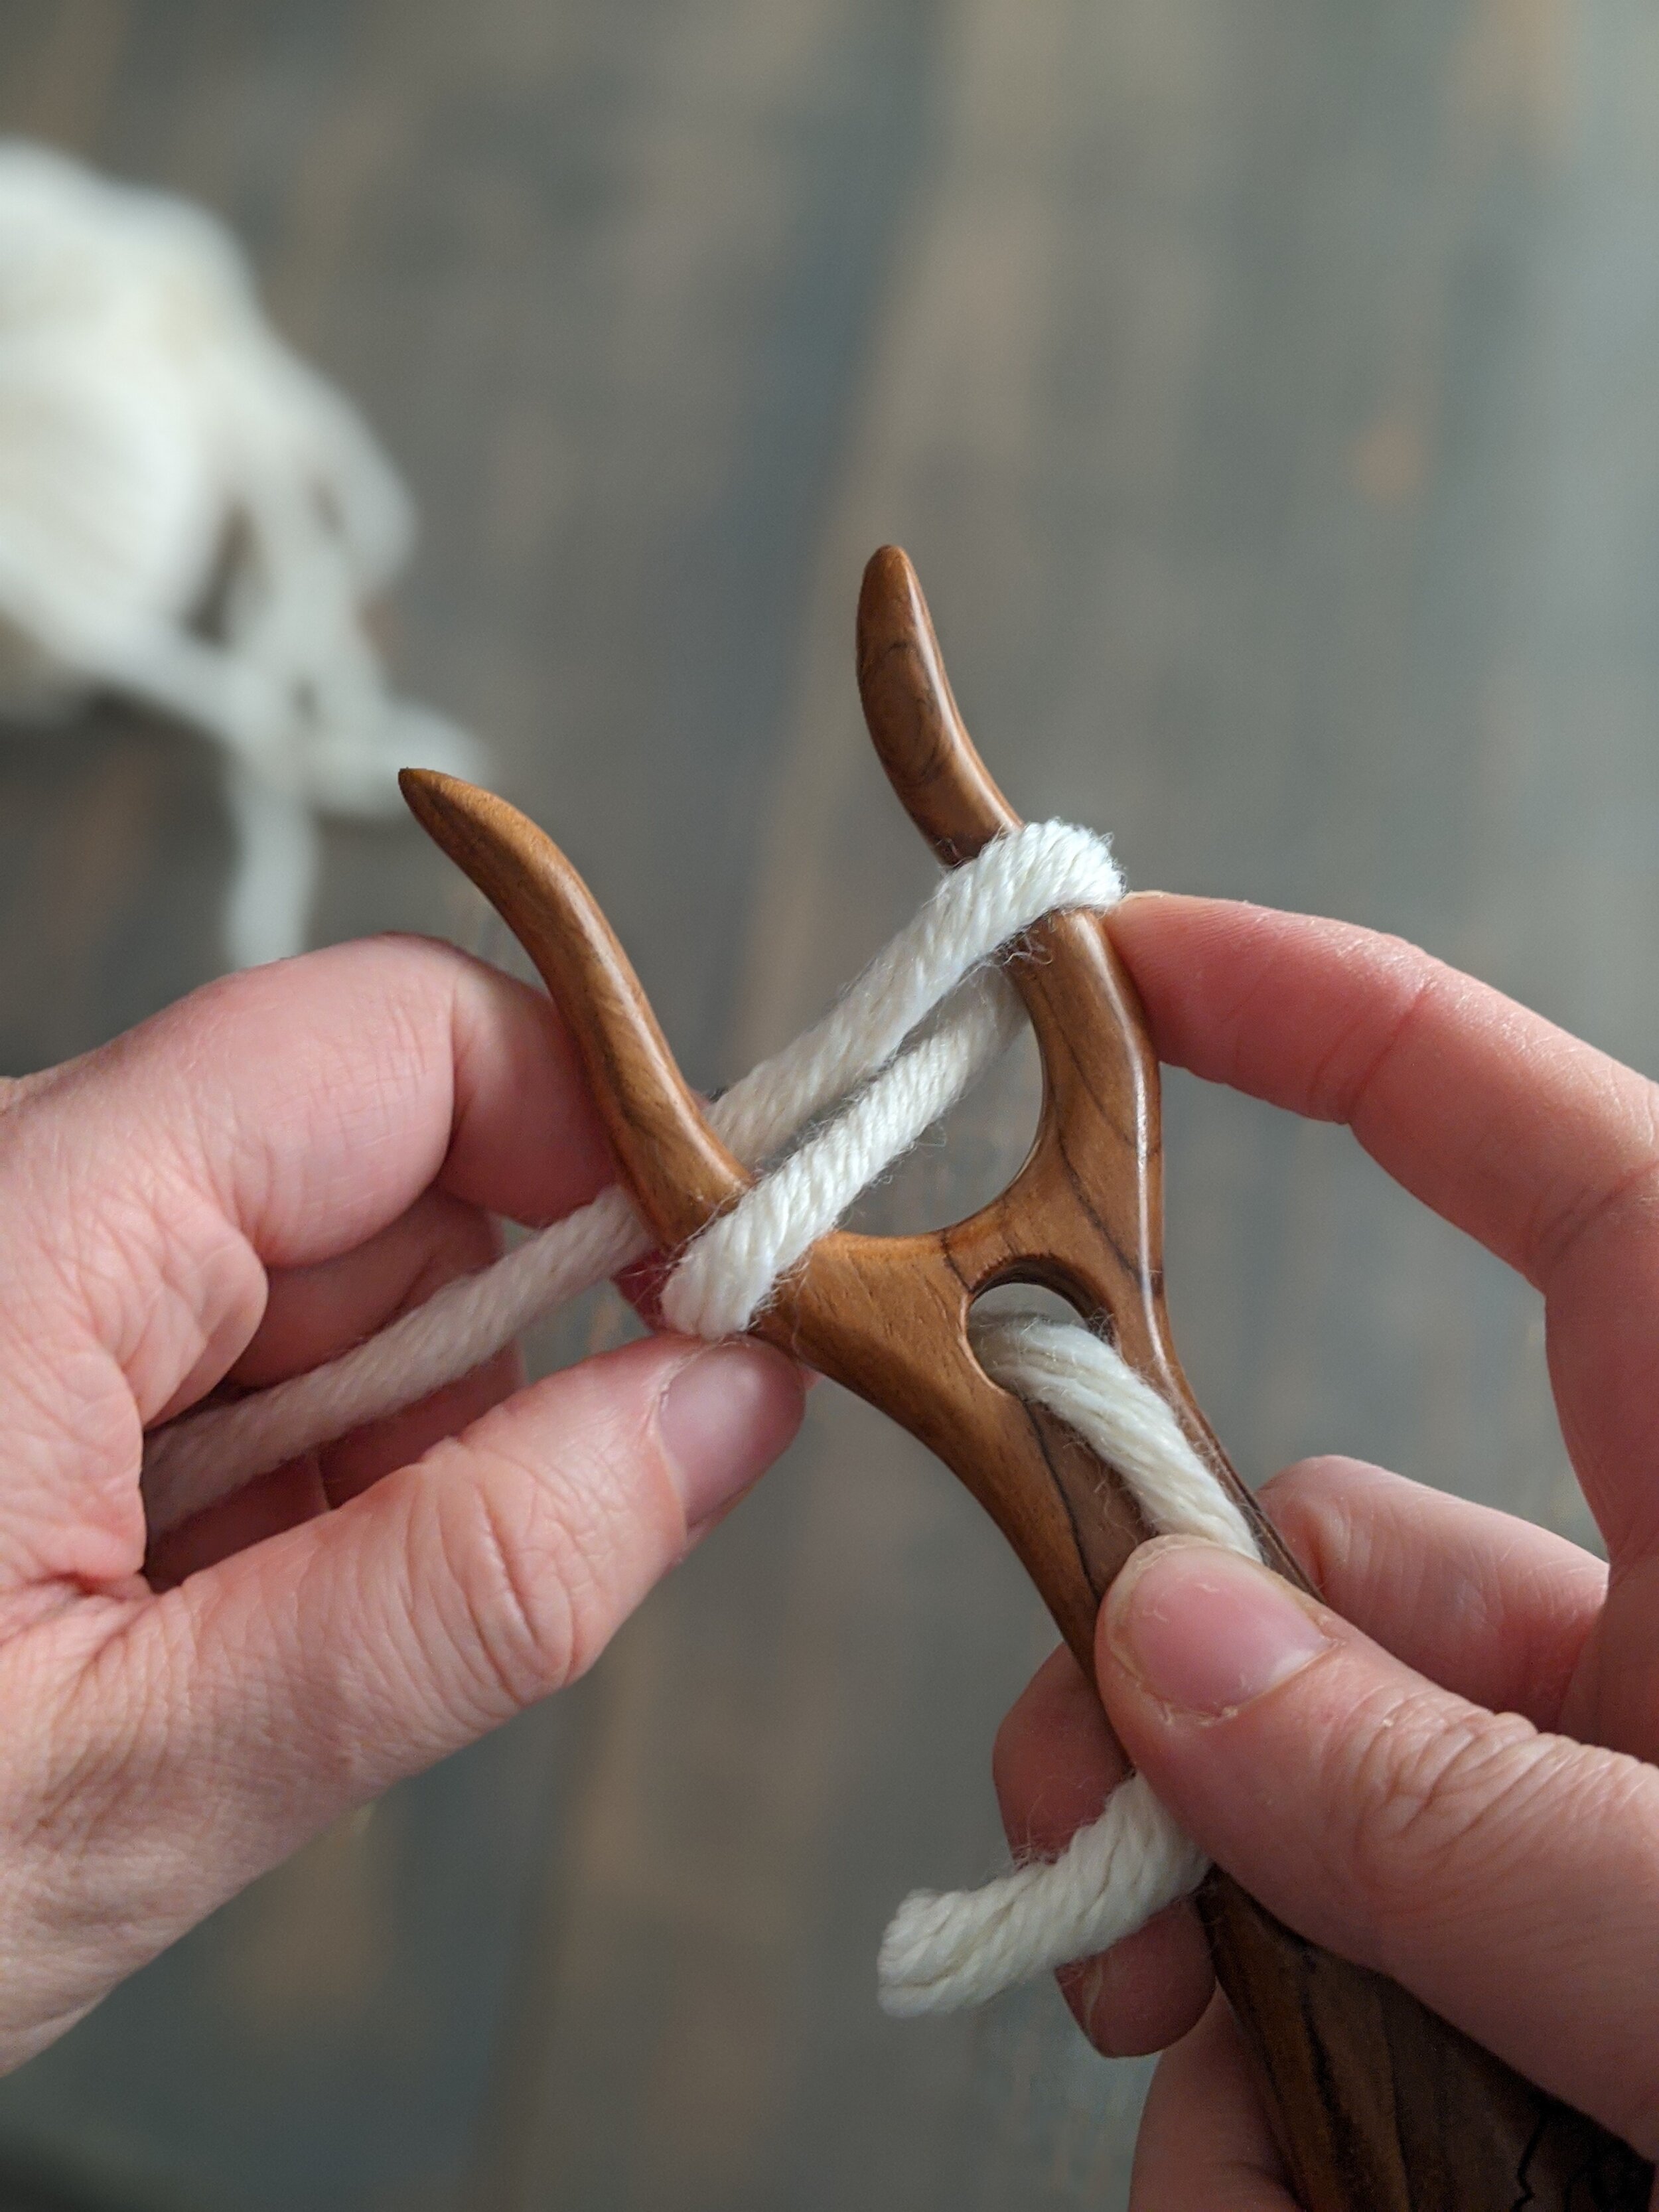
2. Wrap the yarn around the left tong and through the space between the tongs.
3. Wrap the yarn behind the right tong and back between the space between the tongs.
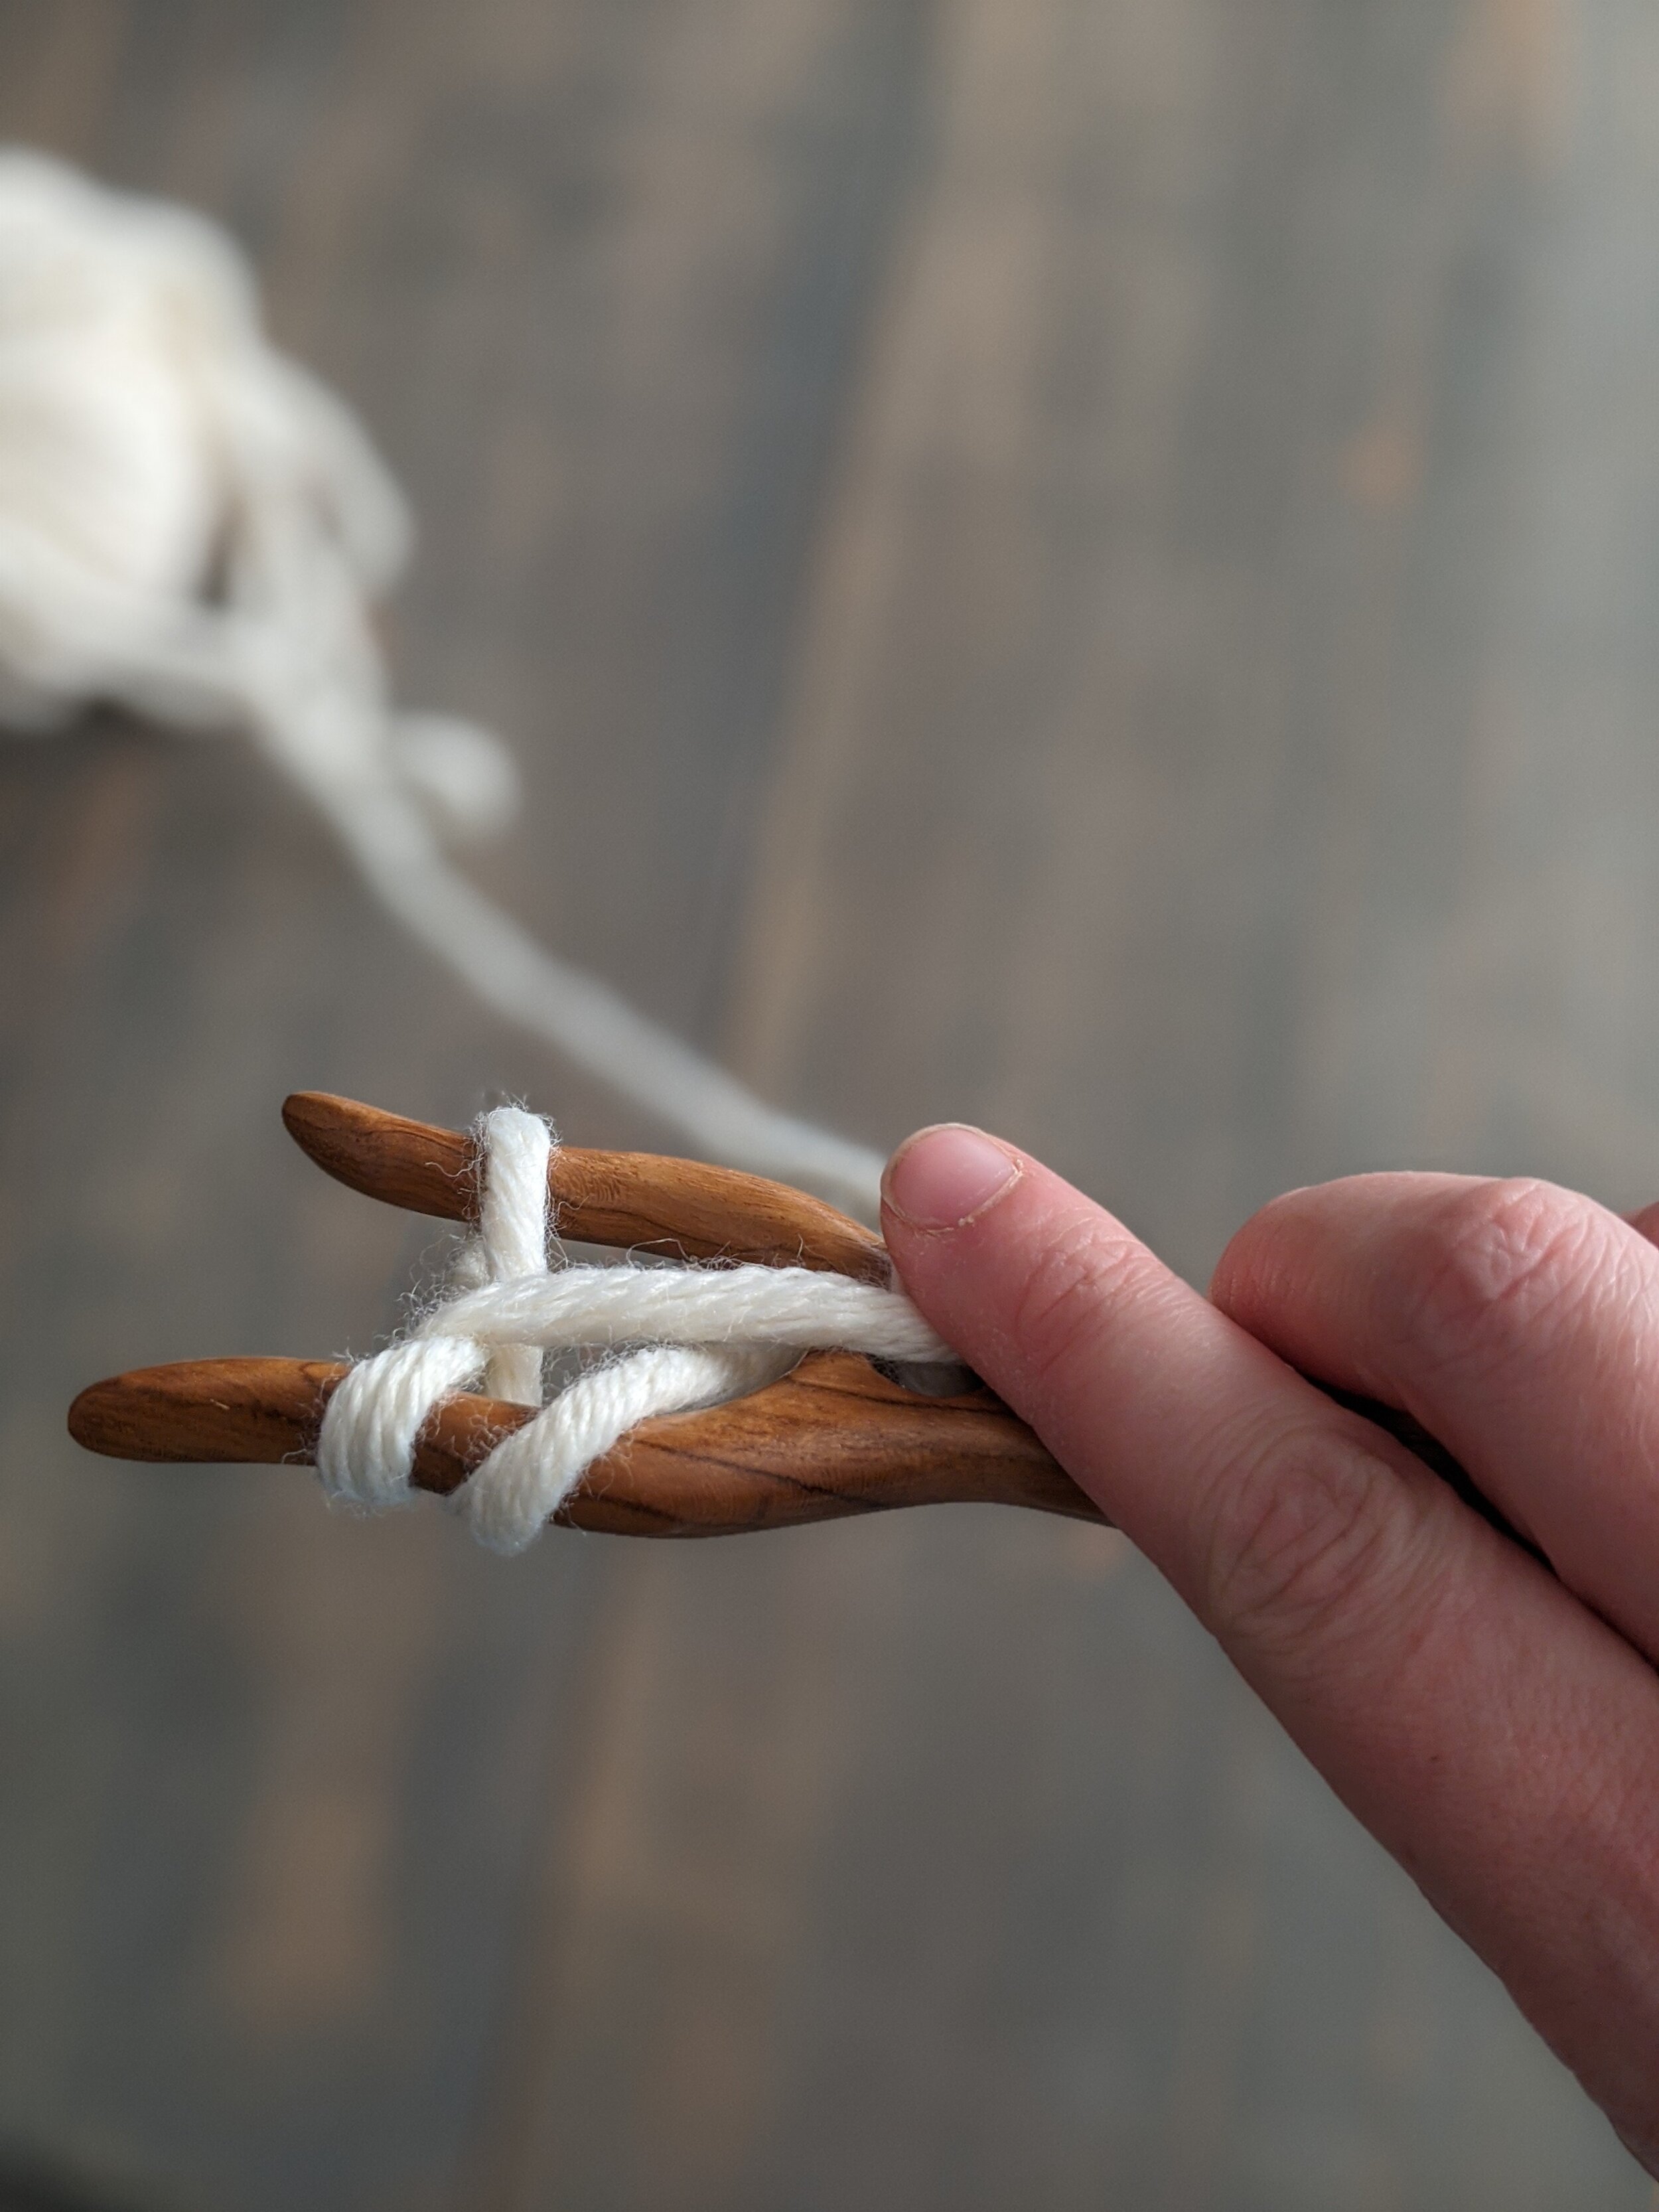
4. Continue wrapping the yarn around the left tong, the through the space between the tongs and around the right tong again.
5. Secure the yarn with the index finger of the thumb that is holding the short end.
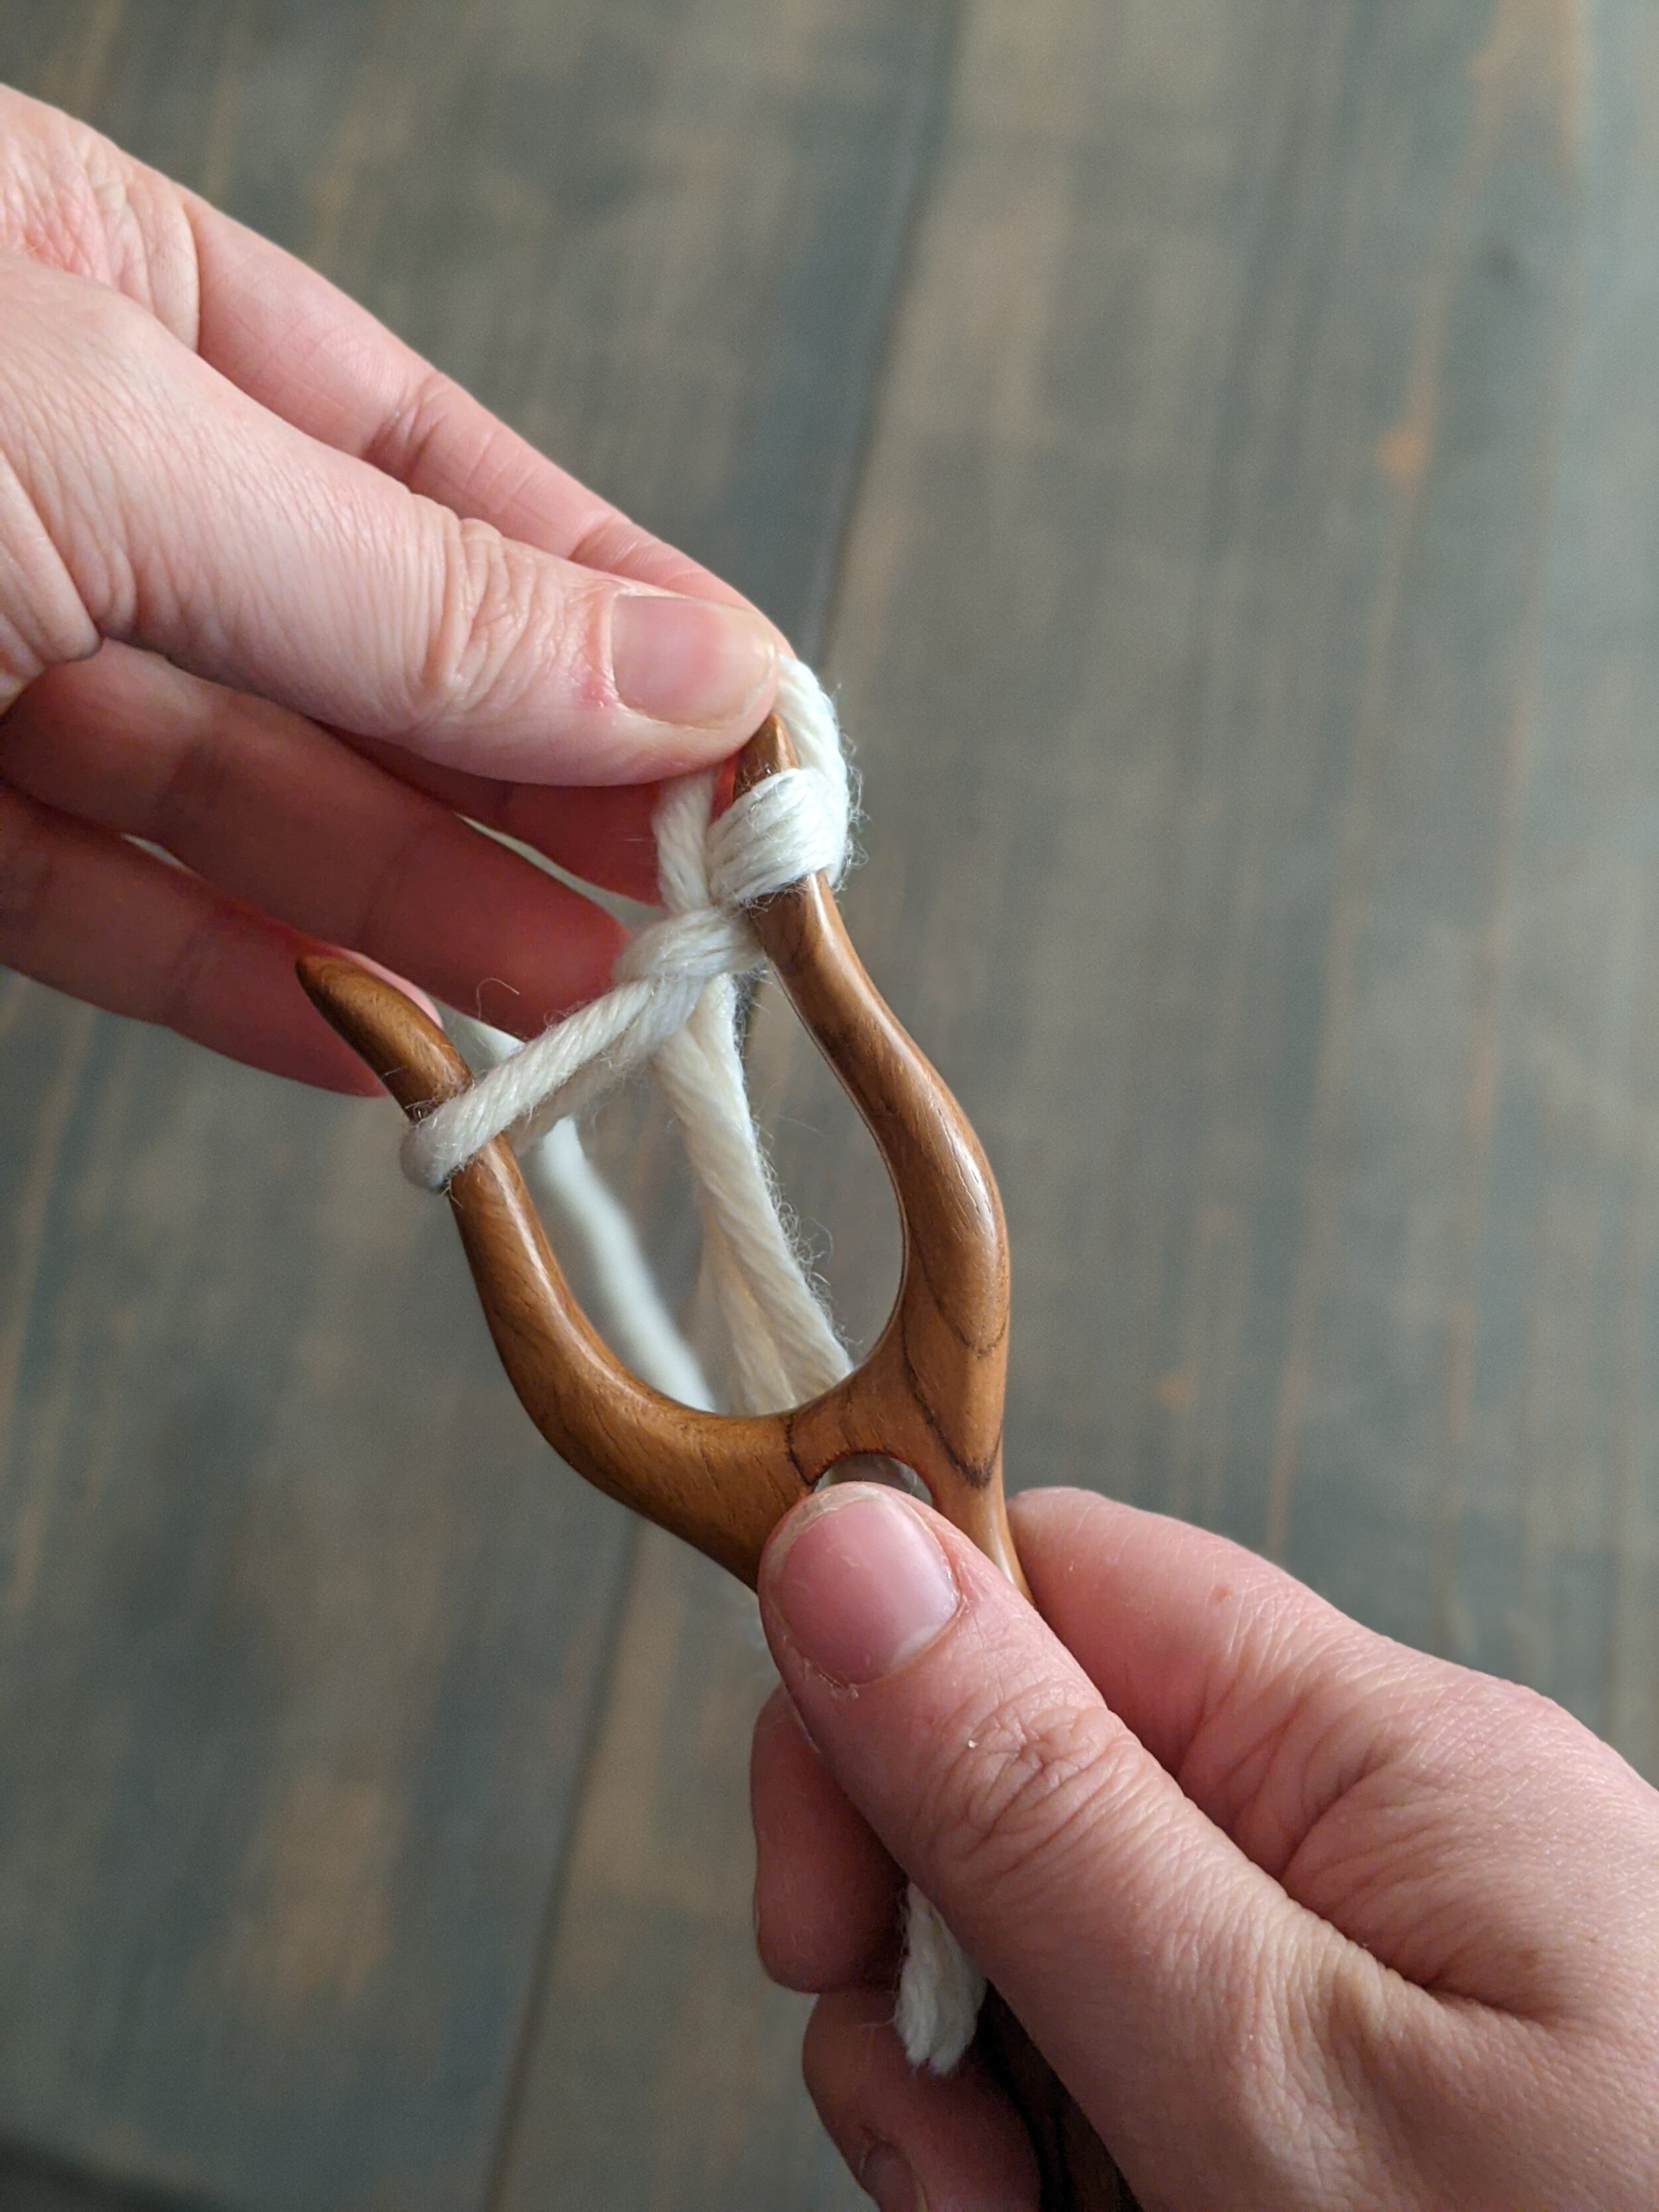
6. On the left tong, lift the bottom loop over the top loop.
7. On the right tong, lift the bottom loop over the top loop.
8. Wrap the yarn around the left tong from back to front, through the space between the tongs, then around the right tong from back to front. Secure the yarn with your index finger.
9. Lift the bottom left loop over the top left loop, then repeat on the right side.
10. Continue wrapping the yarn as shows in step 8, and lifting the bottom loops over the top loops as shown in step 9 until you have reached the length you want.
11. Adjust the tension of your cord in two ways. First, tug the end, pulling the cord down through the hole in the bottom of the fork. Second, tug the yarn before you start wrapping (step 9) to adjust the size of the loops you just lifted off the tongs.
12. When you have reached the length you need for the project, finish the cord by first, lifting the left loop of the tong and onto the right tong.
12. Lift the bottom loop over the top loop (one loop left on the fork).
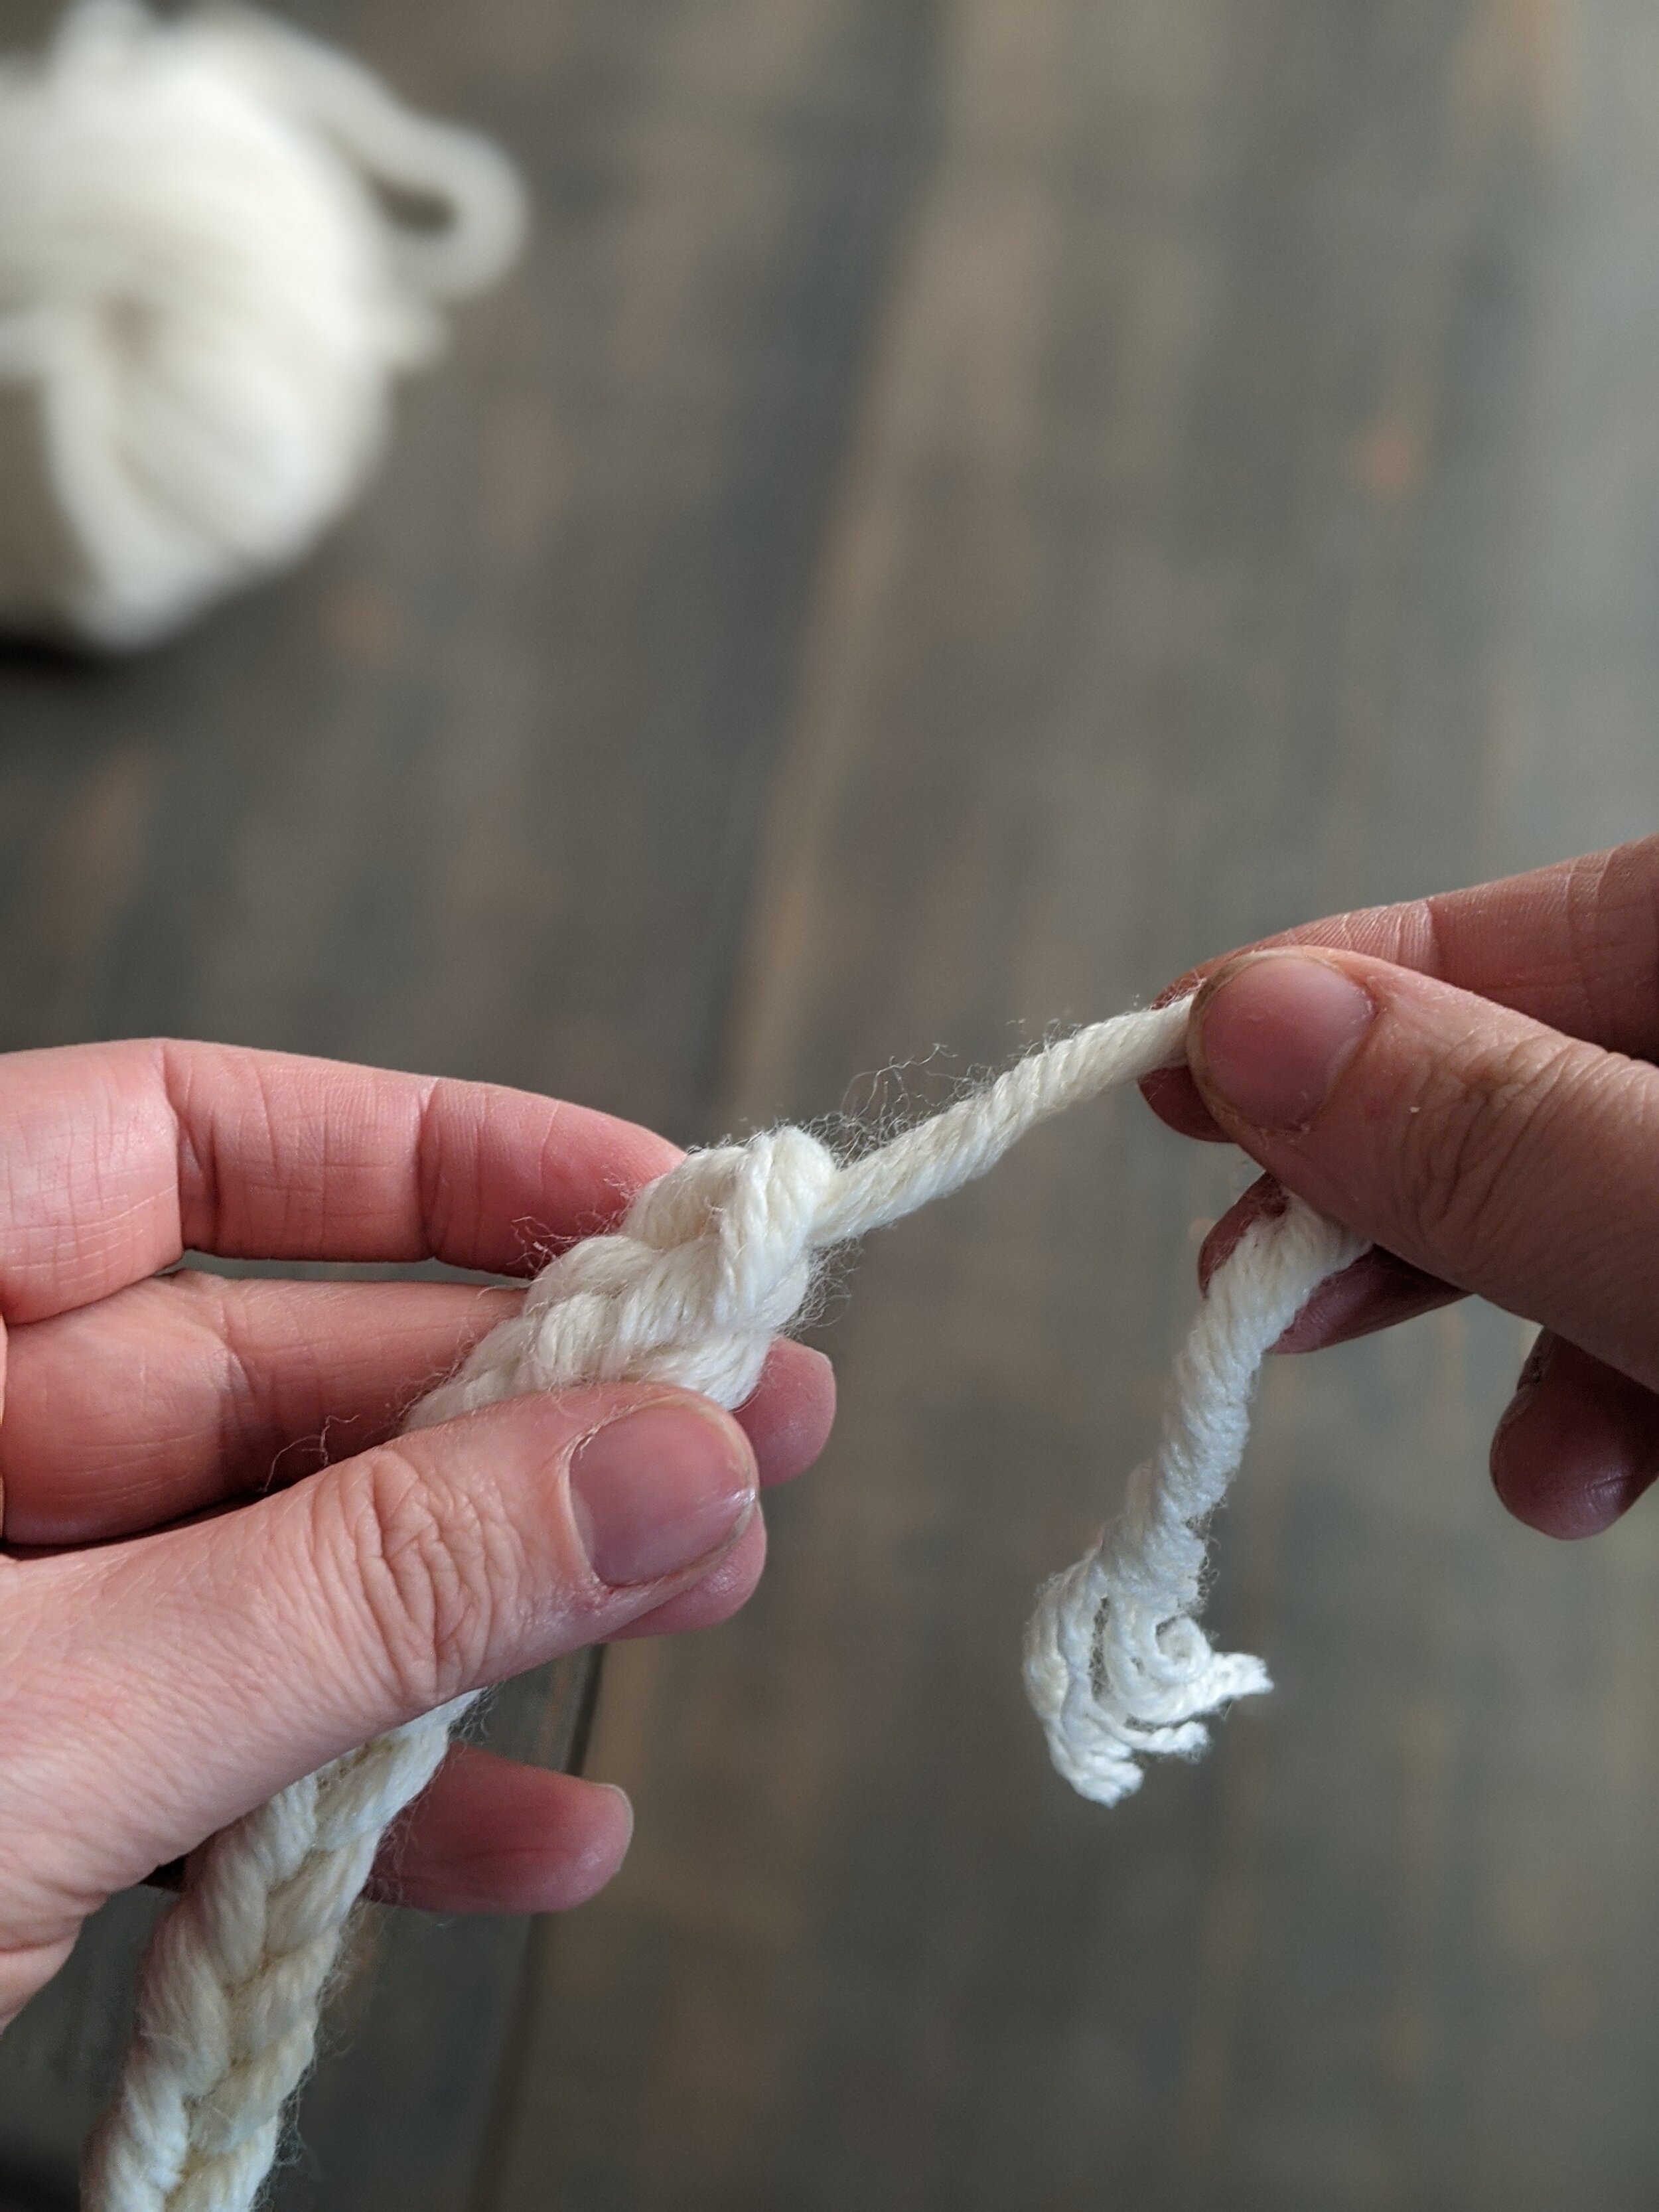
13. Pull the last loop off the fork. Cut the yarn and pull the end through the last loop and tighten.
14. Weave the ends through the cord and use it as needed!
How to make an Icord using a Lucet fork


