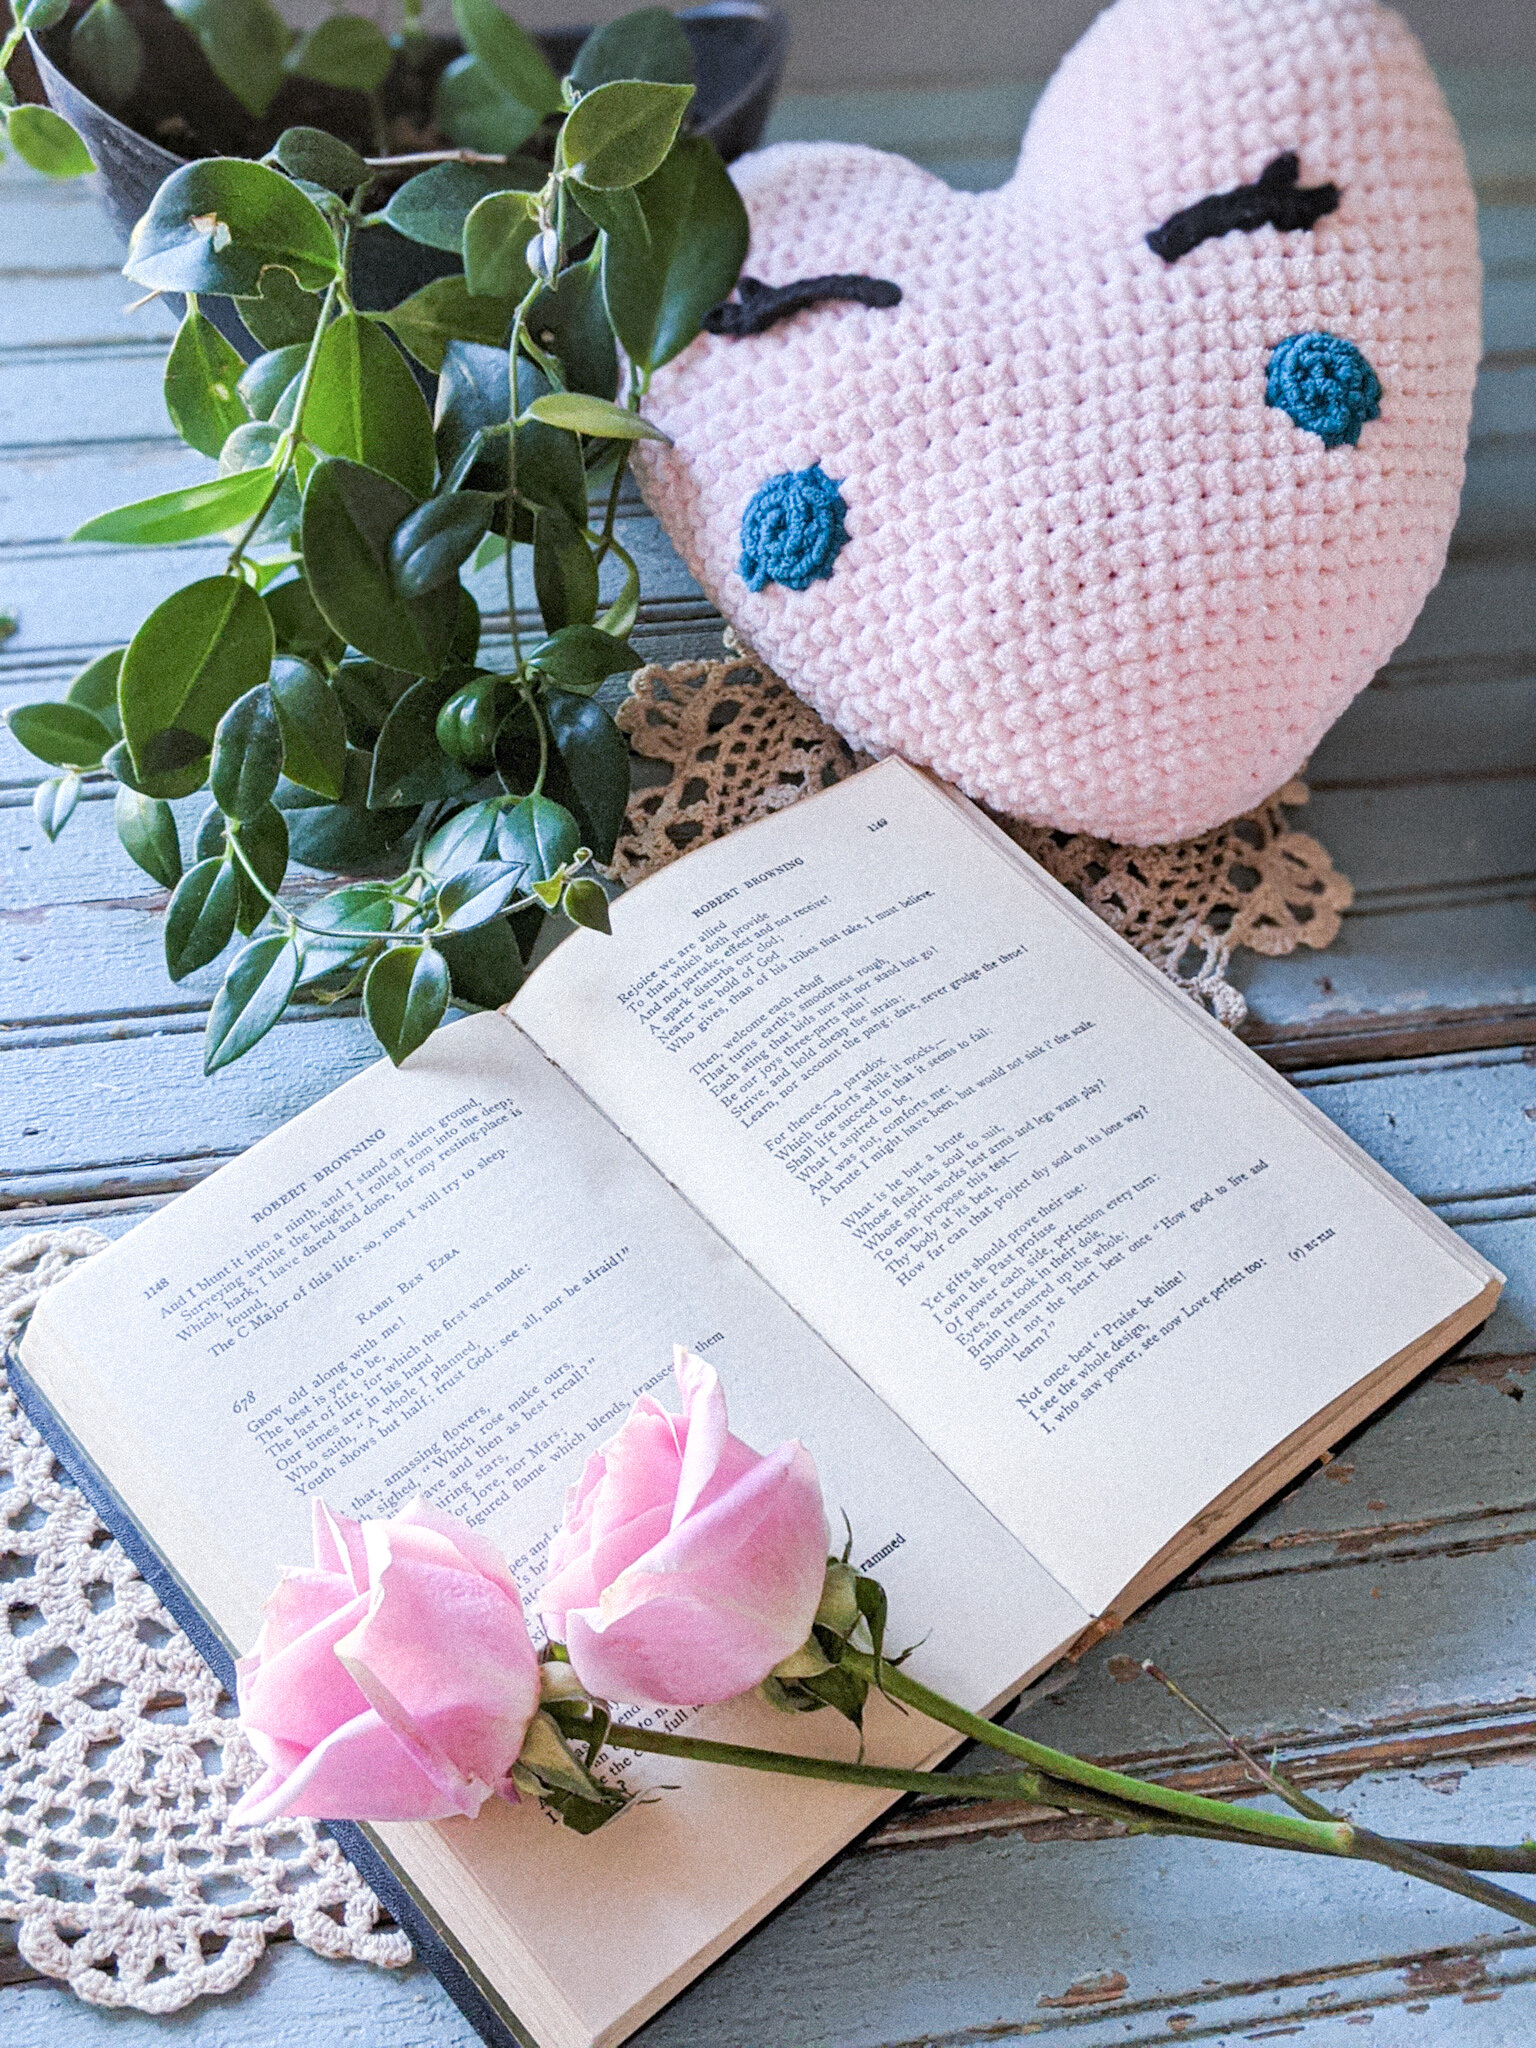
Napoli Heart: Free Amigurumi Pattern
Every now and then, the fates align and a pattern just falls out of your brain into your lap. You gasp in delight and amazement at the stunning piece of fiber art you just created. You quickly jot down the notes, sending them to your testers. They are stunned at the clarity of the instructions and send no corrections - because the pattern is already perfect. THIS IS NOT THAT PATTERN.
Each stitch of the pattern was through the sleep-deprived brain fog of a mother with two children down with the flu - so basically no sleep ever. I took meticulous notes throughout the process, knowing I would never be able to remember how I made it at the end. Then, with my creation winking at me from my desk, I started to transcribe my notes. They made zero sense. Like, none at all. I thought to myself, I should make one more before sending this pattern to my testers. I promptly ignored my own advice and hit send. Later that night my first tested messaged me. Basically, the math in the pattern was all over the place.
At this point, my kids were mostly better, and I’d enjoyed about one good night of sleep. I whipped out my calculator (app on my phone) and worked through the numbers. It took some trial and error, but we worked all the kinks out! One of my testers recommended adding a few more photos to the pattern - which is always a struggle for me! I hate stopping part way through a pattern to take pictures, especially since I do most of my work at night when the lighting is bad!
Don’t forget to save this pattern to your favorite Pinterest board!
And you can follow me on Pinterest for more crochet inspiration.
Free Amigurumi Heart Pattern
This post contains affiliate links. I receive a small commission from your purchase of items through these links at no additional cost to you. See the Terms of Use for more details.
The Yarn:
I originally picked up this Premier Yarns Parfait in Cotton Candy and Blueberry for another project, but ended up having a lot left! I knew I wanted to make something super special for my kids for Valentine’s Day this year, and the image of an emoji heat with blushing cheeks took hold of my mind. I knew the soft, plushiness of the Parfait yarn would create the perfect crochet cuddler! Of course, if you don’t have access to Premier Parfait, you can also use Lion Brand Hometown USA or another 5 weight yarn.
The Process:
When making hearts in the past, I have struggled with keeping the top tightly closed to hold stuffing. To prevent gapping (and leaking stuffing) I stitched to two top rounds together; then, when crocheting around both rounds to begin the body of the heart, I placed a single crochet in the same stitch that I made the join in. In fact, each of the single crochet stitches that held the join ended up with two single crochets in it - one on either side of the joining stitch. In the next round, I placed a single crochet decrease across those two stitch to keep the face of the heart smooth - not rippled.
I wanted the heart to come to a gentle point, instead of a pronounced, sharp one. The image in my mind was very much pillow with just a hint of heart. I wanted a soft, round shape that just begged to be cuddled. I kept the decreases to the sides of the pillows - make sure you make them tight so the stuffing doesn’t leak! - and spaced them out for a gradual sloping shape.
The little winking eyes just steal my heart! My kid’s don’t seem to really get it, but I love them combined with the blushing cheeks! They asked why she doesn’t have a smile - so you can imagine the perfect one!
Free Amigurumi Heart Pattern
Materials:
Premier Yarns Parfait Cotton Candy: 1 skien
Premier Yarns Parfait Blueberry: scraps
Black baby weight yarn: scraps
Hook sizes: H, F, D
Stitches:
Ch– chain
Sl St—slip stitch
Sc—single crochet
Sc Inc—single crochet increase by working two sc in the same stitch.
Sc Dec—single crochet decrease
Notes:
Pattern is in U.S. terms
Each portion is worked in the round, with no joins. You will need to mark the first stitch of each round to stay on track. Feel free to just move the same stitch marker up as each row is completed.
Pattern:
Begin with Size H hook and Cotton Candy Parfait
Rnd 1: Ch2, sc 6 in 2nd ch from hook (6 sc) Continue working onto the first stitch without joining.
Rnd 2: Sc inc in ea (12 sc) Mark the first stitch, moving the marker up as each row begins.
Rnd 3: *sc, sc inc* repeat six times (18)
Rnd 4: *sc in next 2, sc inc* repeat six times (24)
Rnd 5: *sc in next 3, sc inc* repeat six times (30)
Rnd 6: *sc in next 4, sc inc* repeat six times (36)
Rnd 7—8: Sc in ea (36)
Fasten off, leave a long tail. Make two.
Joining - Illustration A
Joining:
Illustration A. Using the long tail, join both rounds together. Insert the hook through the first stitch of both rounds, pull a tail through. Switch to your yarn needle; make a secure stitch in the same spot. This will prevent gapping in this area when you stuff the pillow later. Fasten off and weave in ends.
Illustration B.
Body of the Heart:
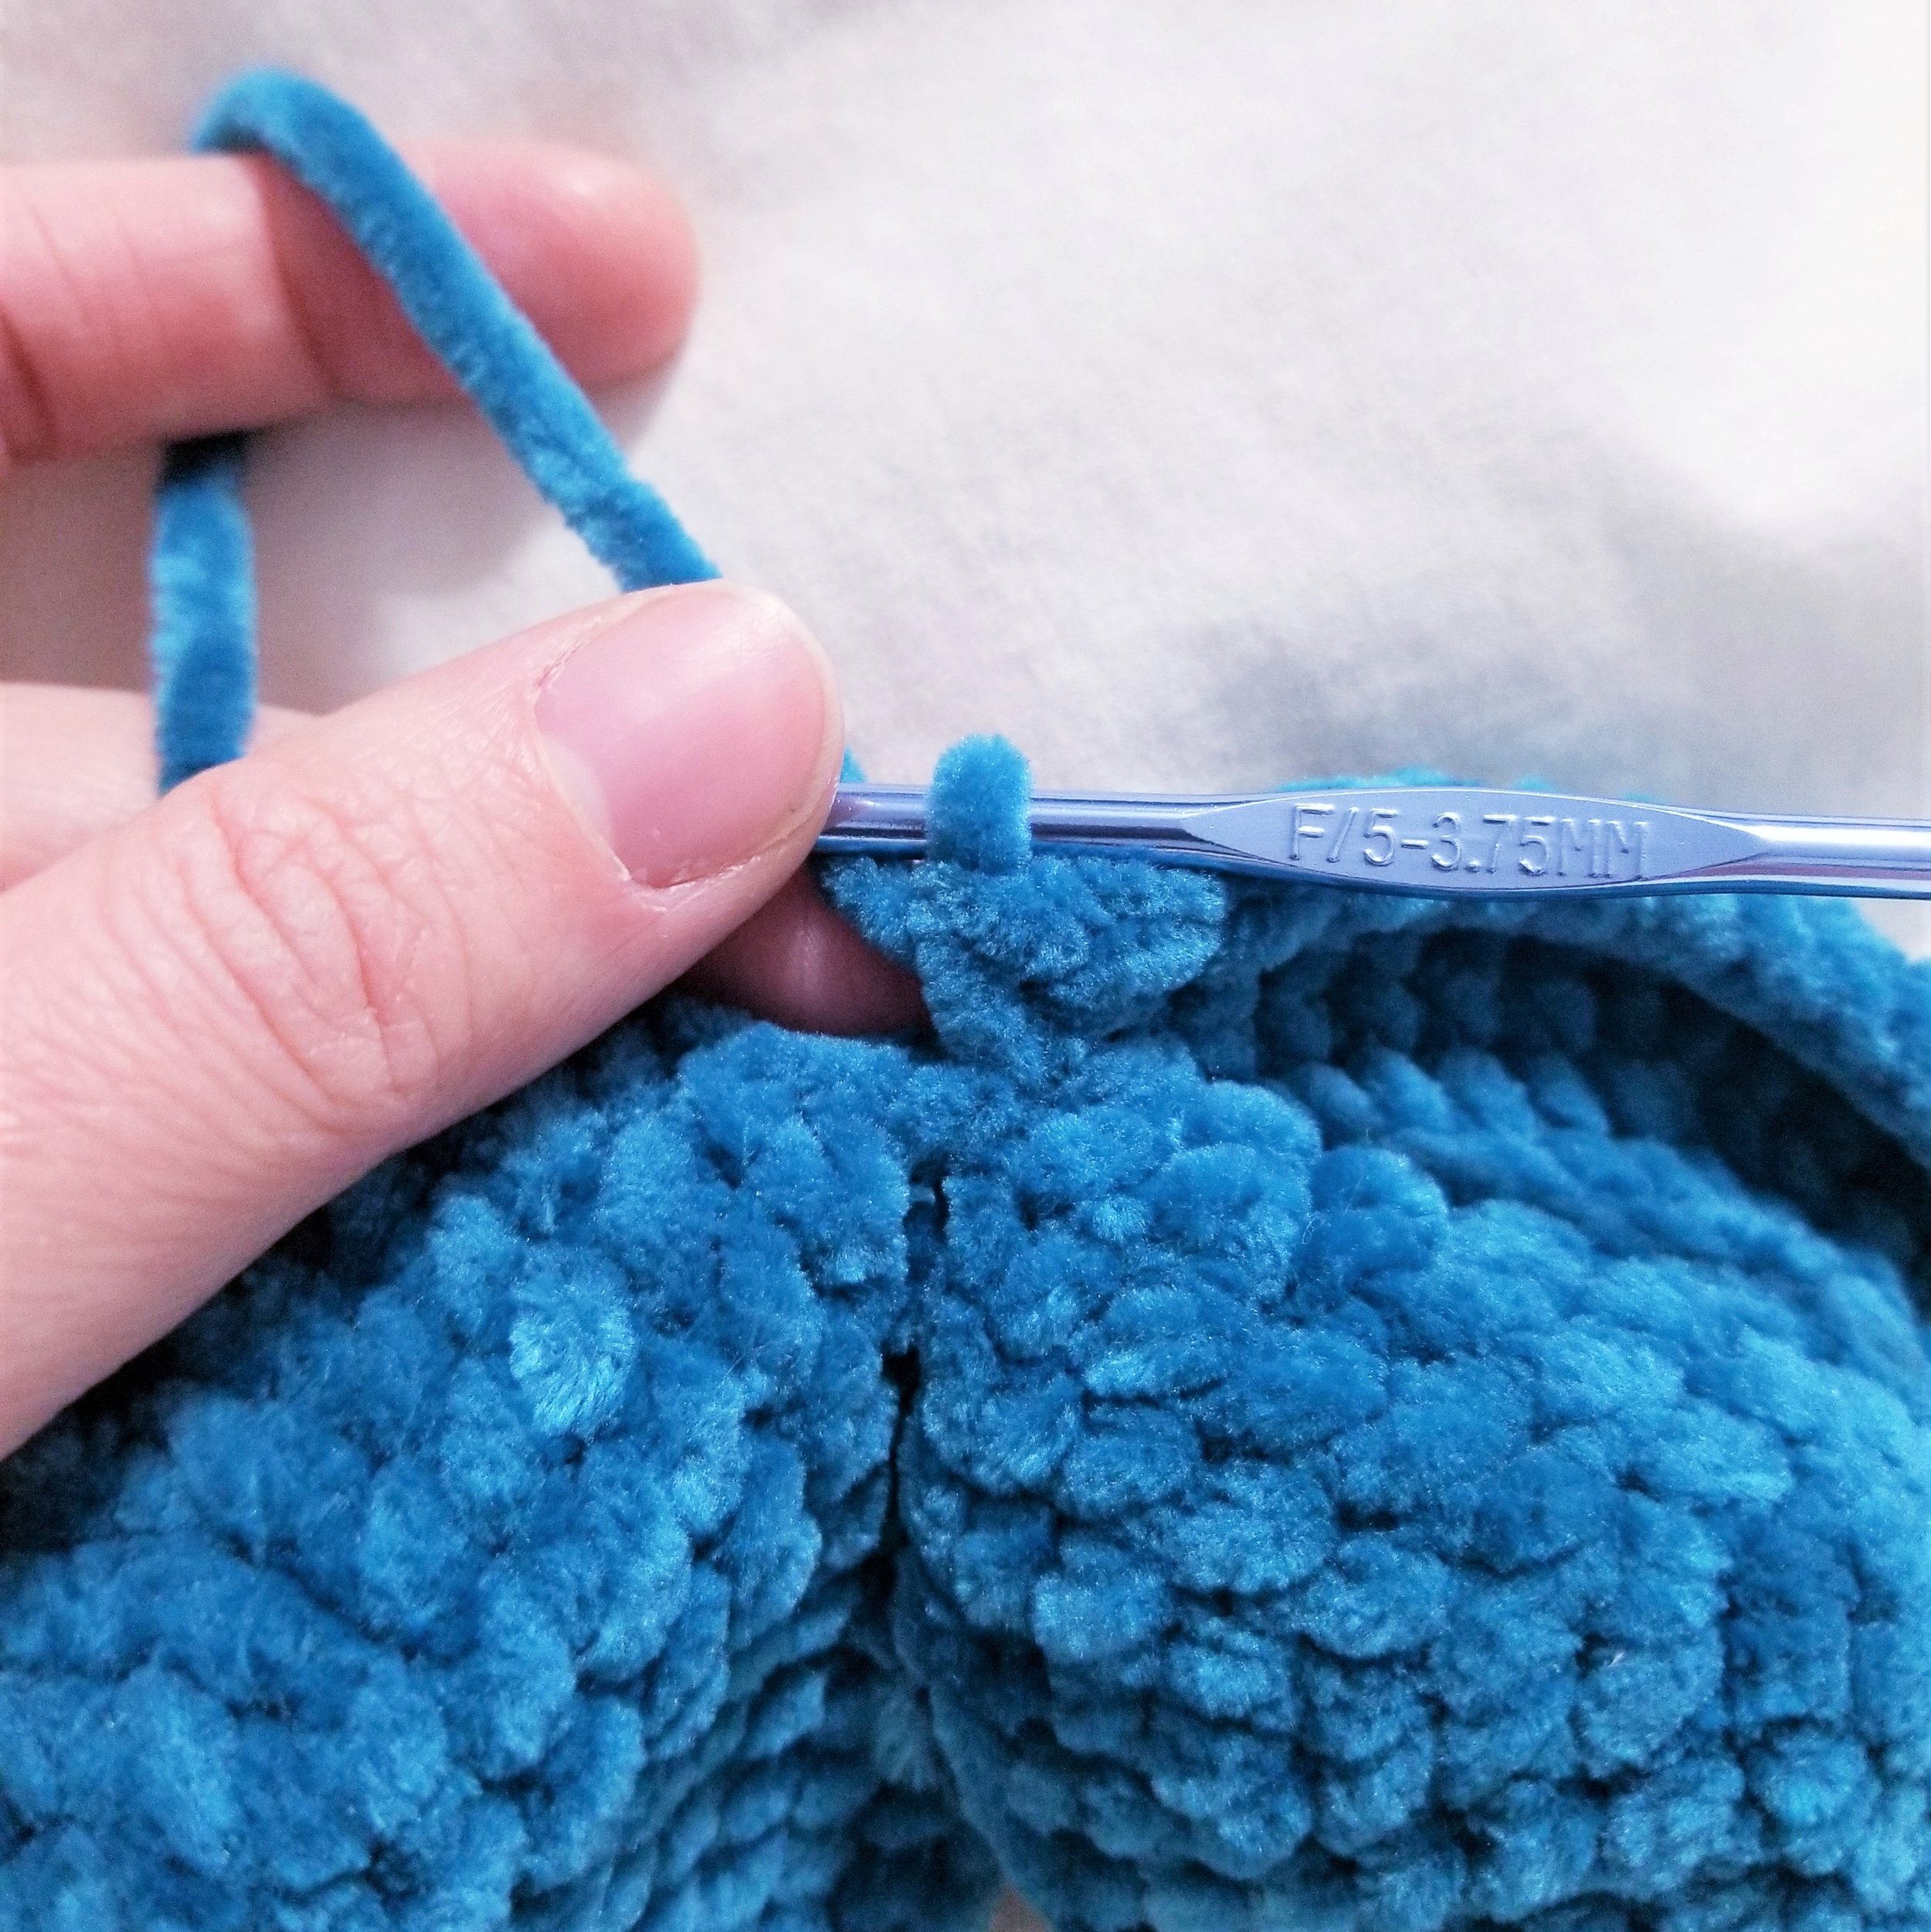
Count 16 from the center join. Attach yarn in next stitch with a ch (Ill. B)
Rnd 1: Sc 20 (20th sc will be in the same spot the joining stitch was made), sc 37 (last sc will be in the same spot the joining stitch was made), sc 16, ending at the marker. Do not join, just continue onto the first stitch of round 1 when starting round 2. You will have worked 2 sc in each join stitch, one on each side of the join stitch. Again, this is to keep this area from gapping later. (74) (Ill. C)
Illustration C
Rnd 2: (Move the marker up to the new first stitch), sc 19, sc dec across next two stiches (the ones at the join), sc in next 35, sc dec across next 2 st, sc in next 16. (72)
Rnd 3-5: Sc in ea st (72)
Rnd 6: Sc 2, sc dec, sc 34, sc dec, sc 32 (70)
Rnd 7: sc in ea st (70)
Rnd 8: Sc 2, sc dec, sc 33, sc dec, sc 31 (68)
Rnd 9: Sc in ea (68)
Rnd 10: Sc 2, sc dec, sc 32, sc dec, sc 30 (66)
Rnd 11: Sc 2, sc dec, sc 31, sc dec, sc 29 (64)
Rnd 12: Sc, sc dec, sc 30, sc dec, sc 29 (62)
Rnd 13: sc, sc dec, sc 29, sc dec, sc 28 (60)
Rnd 14: sc, sc dec, sc 28, sc dec, sc 27 (58)
Rnd 15: Sc, sc dec, sc 27, sc dec, sc 26 (56)
Rnd 16: sc, sc dec, sc 26, sc dec, sc 25 (54)
Rnd 17: Sc, sc dec, sc 25, sc dec, sc 24 (52)
Rnd 18: sc dec, sc 24, sc dec, sc 23, sc decrease across last stitch of this round, and first stitch of next round. (50)
Rnd 19: Sc Dec (mark as new first stitch), sc 21, 2 sc dec across next four stitches, sc 21, sc dec in last stitch of this round and first stitch of next round. (46)
Rnd 20: Sc 21, sc dec, Sc 21, sc dec (44)
Rnd 21: Sc dec, sc 18, 2 sc dec across next four stitches, sc 18, sc dec (40)
Rnd 22: Sc dec, sc 16, 2 sc dec across next four stitches, sc 16, sc dec (36)
Rnd 23: Sc dec, sc 14, 2 sc dec across next four stitches, sc 14, sc dec (32)
Rnd 24: Sc dec, sc 12, 2 sc dec across next four stitches, sc 12, sc dec, sc dec across last stitch of this round and first stitch of next round. (28)
Rnd 25: Sc dec (mark as new first stitch), sc 8, 3 sc dec across next six stitches, sc 8, sc dec, sc dec across last stitch of this round and first stitch of next round. (22)
STOP! Stuff the heart before completing the last two rounds. Do not overstuff, or the fluff will start to come out between the stitches. I like just enough fluff to give it a full shape, but not so much it is bursting.
Illustration D
Rnd 26: Sc dec (mark as new first stitch), sc 5, 3 sc dec across next six stitches, sc 5, sc dec, sc dec across last stitch of this round and first stitch of next. (16)
Rnd 27: Sc dec around. Fasten off, weave end in and out around each stitch of this round, cinch tight. Weave in ends. (8) (Ill. D)
Illustration E
Cheeks:
Use Parfait Blueberry, Hook F
Rnd 1: Ch 2, sc 5 in 2nd ch from hook
Rnd 2: sc inc in ea (10 sc)
Fasten off, leave long tail. Attach to the heart using yarn needle and long tail.
Illustrations F, G, H
Eyes:
Use Dk weight, black yarn. Hook size D.
Row 1: Ch 11, sc in second chain from hook and in each (10 sc) iIll. F
Row 2: Ch 3, sc in 2nd ch from hook (see ill. G) and in next ch, sc in first stitch of row 1 (ill. H), sc inc in next, (ch 4, sc in 2nd chain and next 2 ch), *sc, sc inc* repeat 3 times, sl st in last st. Fasten off, weave in ends. Make 2. Attach to the heart using black thread and tapestry needle.
Illustration I
Assembly:
Ill. I : Pin the eyes and cheeks in place.
Using the black thread and embroidery needle, sew the eyes in place. Since you are using regular sewing thread, no particular method is needed, since you won’t see the tiny stitches when you finish. I used a simple running stitch.
Illustration J
Ill. J : Using a large yarn needle and the long tail, attach the cheeks using a running stitch through the back loop only of the final sc round.
Illustration K
Ill. K : After fastening off the tail, stitch all the way through the pillow with the yarn tail coming out the back. Trim it off and push the tail back in. Having the long tail will help the pieces to withstand a generous amount of loving.
Free Crochet Pattern
When trying to think of a name for this sweet crochet heart amigurumi, the song by Dean Martin just popped into my head. “When the moon hits your eye like a big pizza pie, that’s amore!” The song is written about Napoli, or, as we say in English, Naples. Since his song just kept playing through my head as I stitched her up, I decided Napoli should be the name for this cute amigurumi heart. I hope she inspires you!
Don’t forget to check out my other amigurumi pattern or any of these fun, free crochet patterns!
Napoli is written by Rebekah Haas. I hold the copyright to this pattern. It should not be published, shared, or sold without direct permission of the designer. You are, of course, welcome to sell any items you make using this pattern. If you post pictures of your item on Instagram or Facebook, please credit me with the design by linking to my Instagram account or website. Thank you for choosing to make my pattern! I hope she inspires you just like the old Dean Martin song inspires me!


