


San Fior Slouch Hat: Free Crochet Pattern
Spring is only a month away! Even though we are expecting a small dusting of snow today, I’m fully prepared to spend our snow days decorating for spring, swatching for spring crochet projects, and basically celebrating the coming of one of my favorite times of year: The Opening of All the Flowers! To begin my celebration, I’m giving you the San Fior Slouch Beanie! This is the sister pattern to the San Fior Shawl. Head over there to read more about the park the pattern set is named after and all the wonderful spring feels it gives me!
Don’t forget to save this pattern to your favorite Pinterest board!!!
And while you are there, go ahead and follow me for more crochet patterns and inspiration.

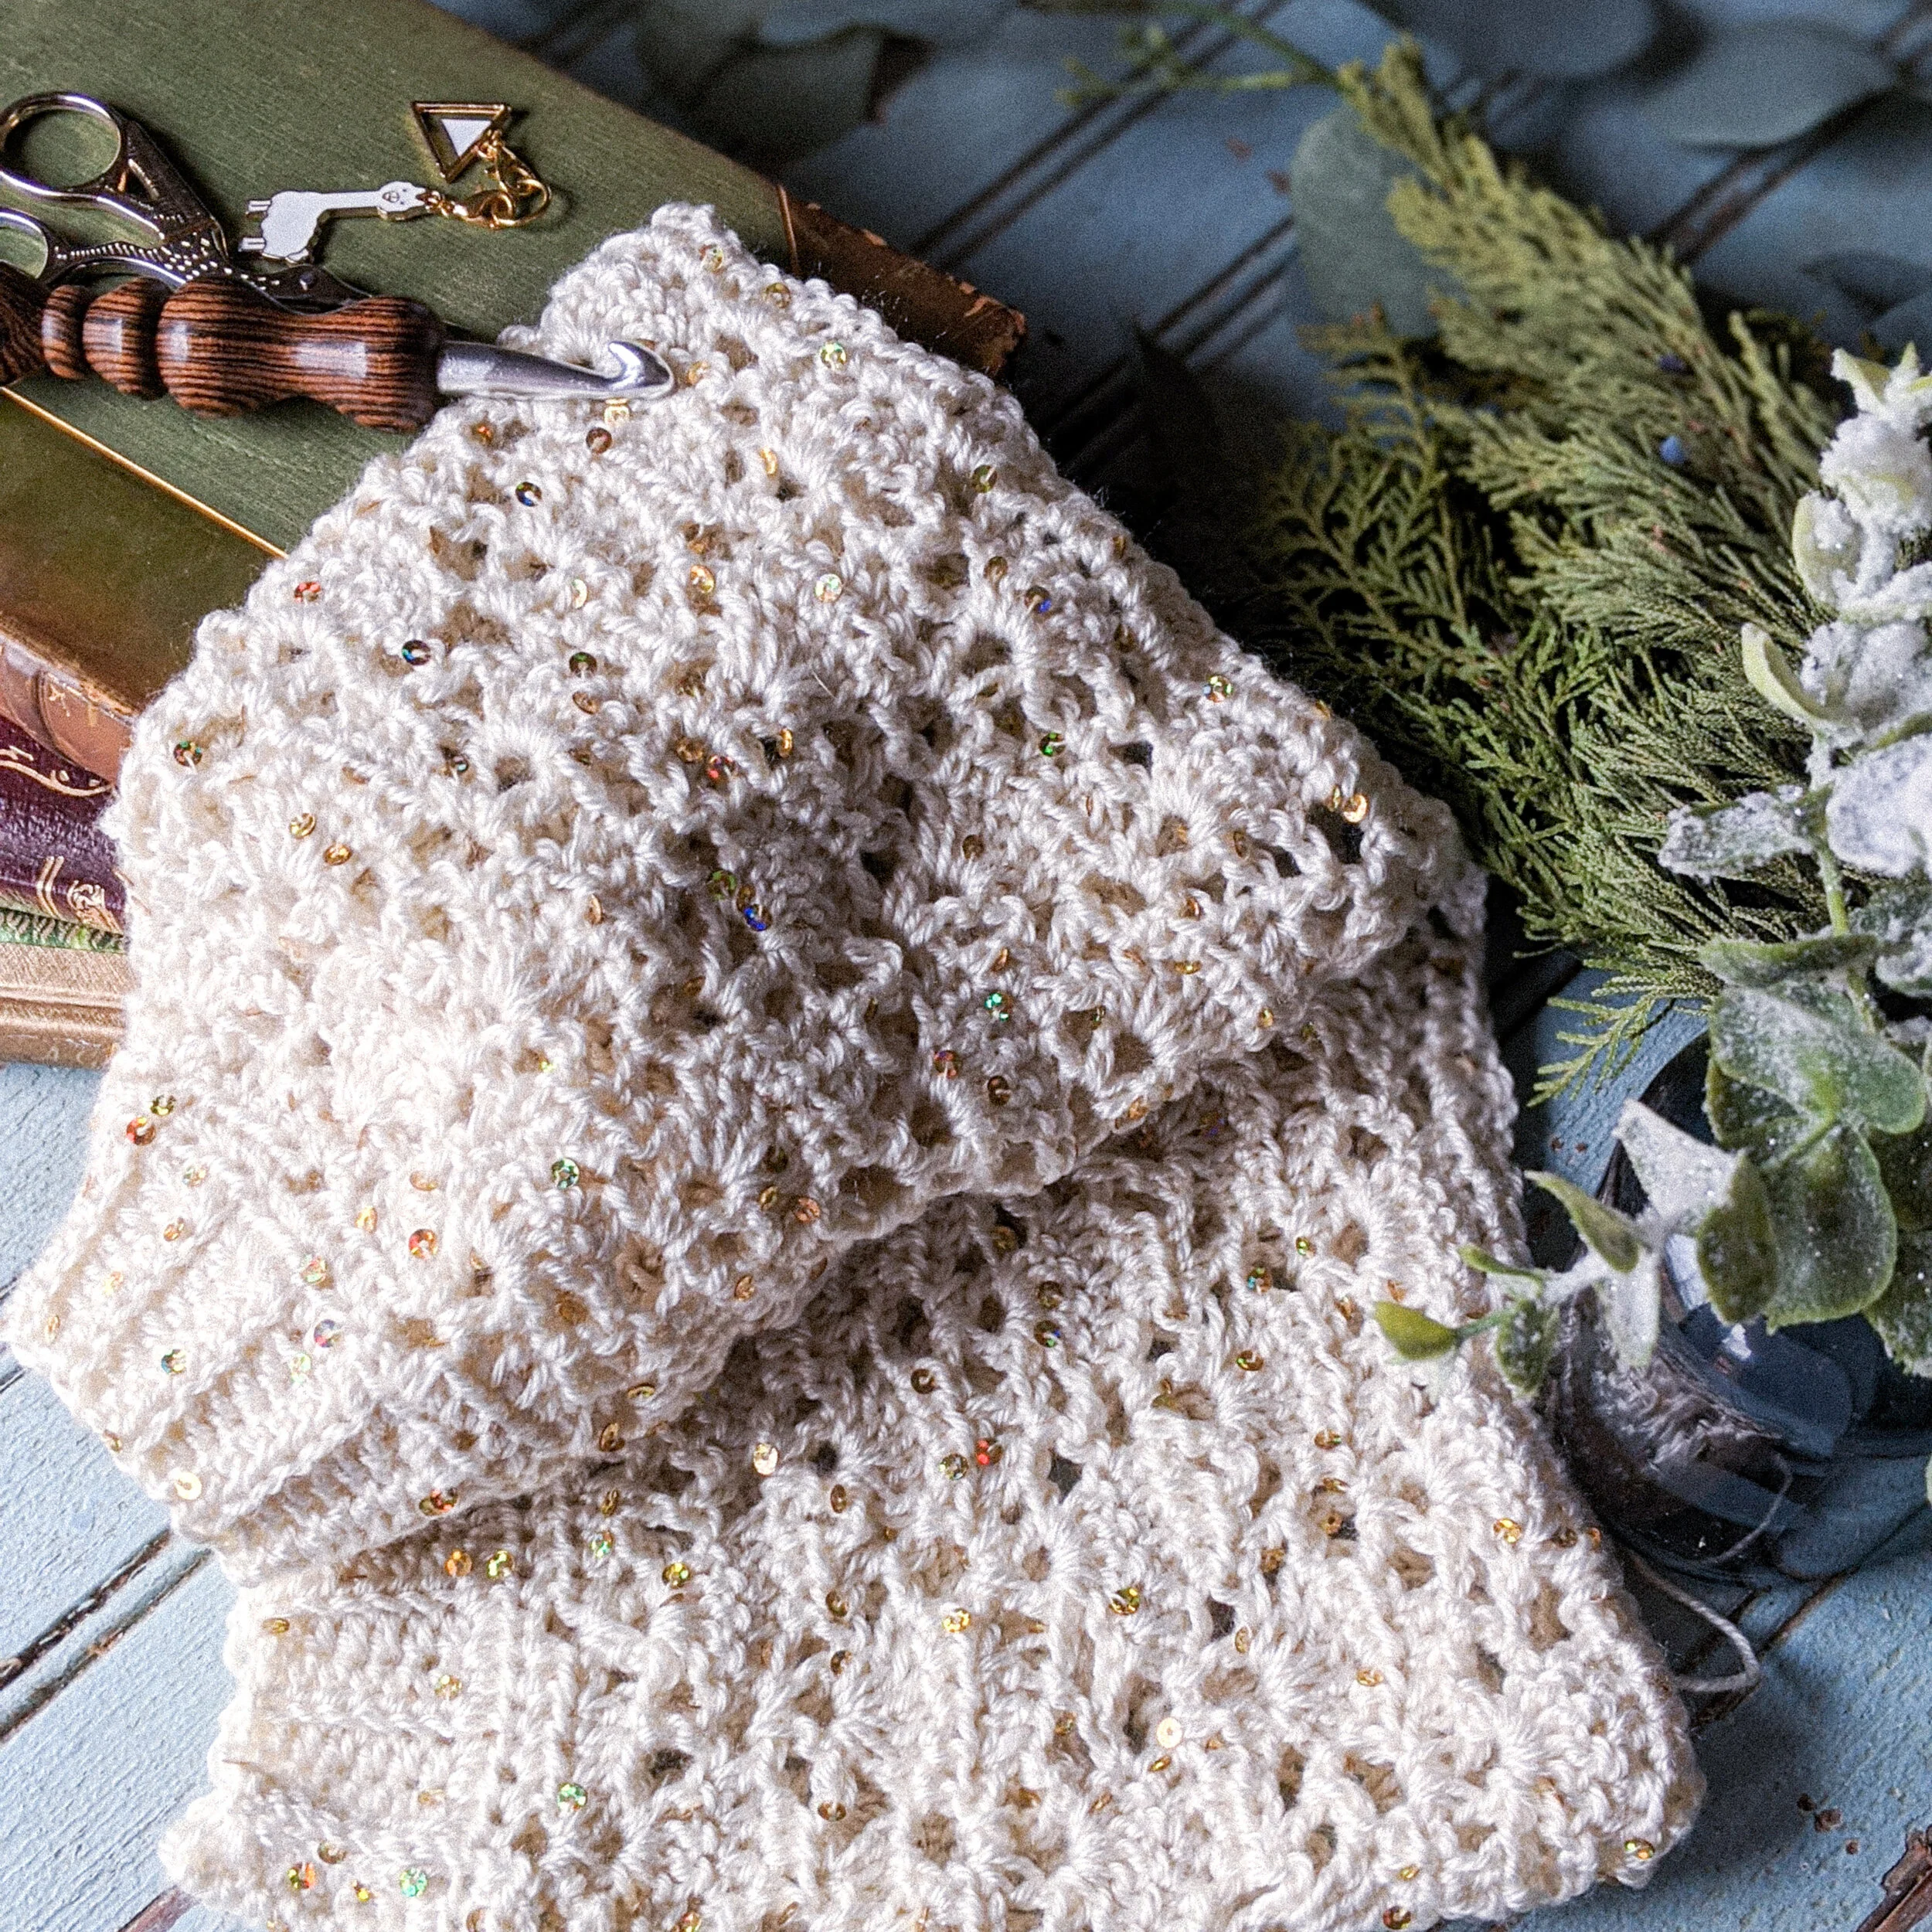
San Fior Crochet Lace Slouch Hat free crochet pattern
This post contains affiliate links. I receive a small commission from your purchase through these links at no additional cost to you. See the Terms of Use for more details.
The Yarn:
We all know the best part of starting a new crochet pattern is picking new yarn! Unfortunately, I have absolutely no idea what the name of this yarn is, since it started as a simple stash busting project. I love the label for this yarn YEARS ago! However, I’ve got some awesome yarn subs for you! The yarn I used is a dk/3 weight yarn and is 100% acrylic. Other yarns that worked well with this pattern are Hobby Lobby Dee-Lish Boutique, a light alpaca blend yarn available in a stunning array of colors; Yarn Bee Glint of Glam also looks stunning with this pattern. Of course, you can’t go wrong with a Lion Brand Mandala or Lion Brand Baby Soft.


Sizing Adjustments:
The San Fior Slouch Hat crochet pattern is written to be an oversized style of hat. If you are looking for a more fitted look or if you feel your head is a little smaller than the suggested sizes, you can adjust the hat size easily. First, to adjust the hat band size slightly, use the single crochet in back loop only technique instead of the half double crochet in back loop only method. Using single crochet will shrink the brim just enough to make it a bit snugger.
Second, if you aren’t looking for a very slouchy hat, but a more fitted style, adjust the stitch count from row one. Instead of working two stitches into the side of each brim stitch, just work one. This will give you a slimmer hat profile, instead of the very long, loose, slouchy look.
Pattern Options:
You can find the adult size of the pattern here on the blog for FREE! But if you are interested in the extended sizes (infant - youth), you can purchase the pattern in my Ravelry shop for only $3. When you purchase a pattern, you have access to the PDF that you can download to make on the go or you can print the pattern to take notes on it as you need.
Purchase the PDF on Ravelry!

Purchase on Ravelry
And don’t forget to check out the San Fior Shawl pattern also available on the blog!

San Fior Shawl
And now, the San Fior Slouch Hat Pattern!
Materials:
150-250 yds DK/3 Weight Yarn
4.25 mm hook (or size needed for guage)
Yarn Needle to weave ends
Thread Needle (optional)
Matching thread of choice (optional)
Button (optional)
Faux Fur Pom with elastic loop (optional)
Stitches and Terms:
Sl St - Slip Stitch
Hdc - Half Double Crochet
Dc– Double Crochet
Ch - Chain
BLO—Back Loop Only
Ea—Each
St—Stitch
Special Stitches:
Dc V Stitch: (dc, ch 1, dc) in same stitch or space indicated.
5 Dc Shell: 5 dc in same stitch or space indicated.
Gauge:
Using 4.25 mm hook, 6 rows of 12 hdc = 2”
Notes and Skills:
U.S. Terms
This hat is a six stitch repeat. This means you need a multiple of six brim rows to still be able to follow the pattern as written. As long as the hat measurements fit the recipient, you are good to go!
This hat is worked in joined rounds. This means you will join to the first hdc or dc of each round. You will also turn after each round and slip stitch to the necessary starting stitch See image. This method pre-vents the stitches from “rotating” as you work in the round.

After the hat has reached the desired height, fasten off, turn it inside out, and seam up the top.
To make the hat less slouchy, simply alter Row 1 to one hdc in the side of each brim row.
You can add a small button to the inside top of the hat. When the hat is turned right side out, loop the elastic loop from the faux fur pom pom through the stitches at the crown and around the button. This will keep your pom pom secure, but also removable if the hat needs to be washed.
Brim:
Row 1: Ch 7, turn, hdc in 2nd ch from hook and next 5 ch. (6 hdc) Turn.
Row 2-54: Ch 1, hdc in blo of ea hdc. (6 hdc) Turn.
Use sl st to join the last and first rows together. Turn so the seam is on the inside, DO NOT FASTEN OFF. Con-tinue to the body of the hat.
Body:
Row 1: Ch 1, 2 hdc in the side of ea st. Join to first hdc. TURN. (108 hdc)
Row 2: Ch 1, hdc in same st and next 4 st, ch 2, sk 1, *hdc in next 5 st, ch 2, sk 1,* repeat to end. Join with sl st to first hdc. TURN. (90 hdc)
Row 3: Sl st in ch 2 sp and first two hdc, ch 1, hdc in same st and next 2 hdc, ch 1, sk 1 hdc, *dc v st in ch 2 sp, ch 1, sk 1 hdc, hdc in next 3 hdc, ch 1, sk 1 hdc,* repeat to last ch 2 sp, dc v st in ch 2 sp, ch 1, join with sl st to first hdc. TURN.(54 hdc, 18 dc v st)
Row 4: Sl st to center ch 1 sp of dc v st See notes for details, ch 1 pull this chain up a little higher than usual, 5 dc shell in same center chain sp of dc v st, *ch 1, sk 1 hdc, hdc in center st of 3 hdc set, ch 1, sk 1 hdc, 5 dc shell in center ch of dc v st, * repeat through last v st, ch 1, hdc in center st of 3 hdc set, ch 1, join with sl st to first dc. TURN. (90 dc)
Row 5: Sl st to first st of 5 dc shell See notes for details, ch 1, hdc in same st and next 4 dc, ch 2, *sk to 5 dc shell, hdc in ea dc of 5 dc shell, ch 2,* repeat around. Join to first hdc. TURN. (90 hdc)
Repeat Rows 3-5 six more time or until you reach de-sired height. On the last repeat, DO NOT repeat Row 5, but continue to the Decreasing Rows:
Decreasing Row 1: Sl st to 5 Dc Shell and in first dc, ch 1, hdc in same st and next four dc, *sk to next 5 dc shell, hdc in next 5 dc, * repeat to end. Join to first hdc. DO NOT TURN. (90 hdc)
Decreasing Row 2: Ch 1, hdc in same st and next 2 hdc, *hdc dec across next 2 st, hdc in next 3 st, * repeat around, hdc dec in last two st. Join to first hdc. Fasten off, leaving a long tail. (72 hdc)
San Fior Lace Crochet Slouch Hat Free Crochet Pattern
Finishing Touches:
Seaming:
1. Turn hat inside out.
2. Thread the long tail through the yarn nee-dle.
3. Weave the needle in and out of the final row of stitches.
4. Pull tight.
5. Place several, secure stitches in an “x” shape over the cinched up crown.
6. Fasten off securely and weave in the end.

Add the Pom Pom:
1. With hat still inside out, place button on the seam.
2. Using thread needle and matching thread, sew the button to the inside of the seam.
3. Fasten off the thread.
4. Turn hat right side out, using a hook (or your fingers), thread the elastic loop from the faux fur pom pom through the stitches of the crown and loop it over the button. Always remove the pom pom before washing the hat.

The San Fior Slouch Hat is written by Rebekah Haas. I hold the copyright to this pattern. It should not be published, shared, or sold without direct permission of the designer. You are, of course, welcome to sell any items you make using this pattern. If you post pictures of your item on Instagram or Facebook, please credit me with the design by linking to my Instagram account or website. Thank you for choosing to make my pattern! I hope it inspires you!

San Fior Slouch Hat Free Lace Crochet Hat Pattern


