Granny's Cottage Shawl: A Free Crochet Pattern
This cozy autumn shawl is inspired by the colors of the fading leaves. The simple granny stitch makes it easy for anyone to make, but with the added challenge of a unique edging. This crochet granny stitch shawl is embellished with a toggle button to keep you cozy as the cool winds blow.
This post contains affiliate links. I make a small commission from your purchases through these links at no additional cost to you. Please see my Terms of Use for more details.
Materials:
Worsted Weight Acrylic Yarn in 5 colors, 1,320 yds total
I used Furls Wander Acrylic yarn
C1: Wander Acrylic Sandbar 3 skeins (360 yds)
C2: Wander Acrylic Fawn 2 skeins (240 yds)
C3: Wander Acrylic Patina 2 skeins (240 yds)
C4: Wander Acrylic Meadow 2 skeins (240 yds)
C5: Wander Acrylic Conifer 2 skeins (240 yds)
6.5 mm crochet hook Furls Streamline Wood
Toggle button set
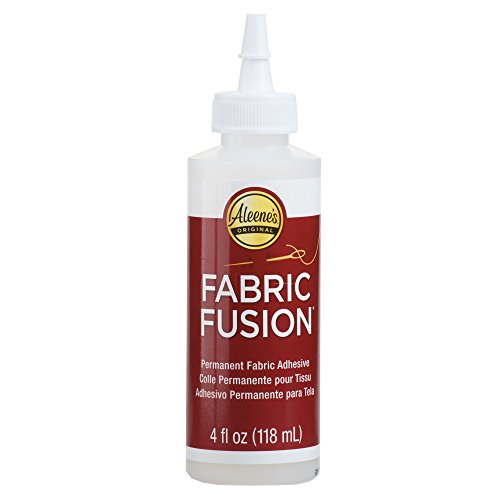
Fabric glue
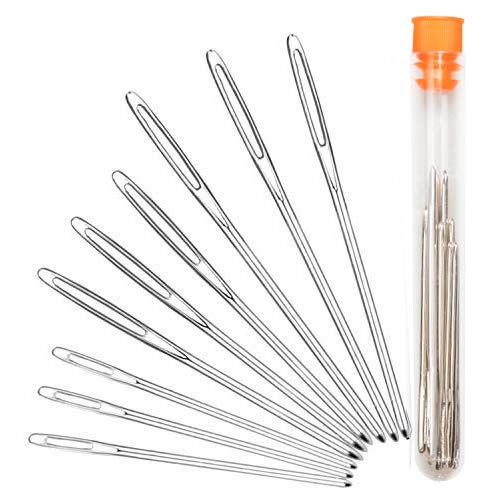
Yarn needle to weave in ends
Scissors
Terms and Abbreviations: (U.S. Terms)
Ch - Chain
Dc - Double Crochet
Sc - Single Crochet
Rsc - Reverse Single Crochet
Ea - Each
St - Stitch
Sk - Skip
Sp - Space
Tr - Treble Crochet
Special Stitches
Picot: Ch 3, sl st in previous dc.
Shell: (dc 3, tr 1, dc 3) in the same stitch or space.
Gauge:
Work rows 1-8 of the pattern. The triangle should measure 6” from the top center to any point.
Notes:
Ch 2 at the beginning of each row does not count as a stitch.
Stitches between asterisks ** are repeated.
Stitches between parentheses () are worked in the same stitch or space.
Gauge is overall not important to the overall size, since it can be made to measure.
This pattern is made in rows. Turn at the end of each row.
Stitch counts are listed in parentheses at the end of each row.
This is the original design of Rebekah Haas. Please do not copy, replicate, or sell this pattern without permission.
Please feel free to sell items you make from this pattern.
Color Layout
Colors are changed each row. Work in the following color pattern:
Row 1: C1
Row 2: C2
Row 3: C1
Row 4: C3
Row 5: C1
Row 6: C4
Row 7: C1
Row 8: C5
Row 9: C1
Row 10: C4
Row 11: C1
Row 12: C3
Row 13: C1
Row 14: C2
Repeat color fade from row 1 until you have the desired size.
Pattern:
Row 1: Ch 3, working in 3rd ch from hook, dc 3, ch 3, dc 3. (6 dc)
Row 2: Ch 6 (counts as dc, ch 3 here and throughout), dc in first st, ch 1, sk 2-dc, (dc 3, ch 3, dc 3) in 3-ch sp, sk 2-dc, (dc, ch 1, dc) in last st. (10 dc)
Row 3: Ch 2, dc 3 in 1-ch sp, ch 1, sk 1-dc, dc 3 in ch 1 sp, ch 1, sk 3-dc, (dc 3, ch 3, dc 3) in 3-ch sp, ch 1, sk 3-dc, dc 3 in 1-ch sp, ch 1, sk 1-dc, dc 3 in 1-ch sp. (18 dc)
Row 4: Ch 6, dc in first dc, ch 1, sk 2-dc, *dc 3 in 1-ch sp, ch 1, sk 3-dc* repeat to 3-ch sp, (dc 3, ch 3, dc 3) in 3-ch sp, *ch 1, sk 3-dc, dc 3 in 1-ch sp* repeat until last 3-dc, sk 2-dc, (dc, ch 1, dc) in the last dc.
Row 5: Ch 2, *dc 3 in 1-ch sp, ch 1, sk 3-dc* repeat to center 3-ch sp, (dc 3, ch 3, dc 3) in 3-ch sp, *ch 1, sk 3-dc, dc 3 in 1-ch sp* repeat to end.
Repeat rows 4-5 following the color layout until your shawl reaches the desired size.
The sample used 45 rows.
Edging
Note: The final stitch count will depend on how many rows you made.
Row 1: Using C1, Ch 1, sc in ea st.
Row 2: Using C4, ch 1, *sc, dc, picot, dc, sc* repeat to end.
Note: You may not have enough stitches to complete a full repeat at the end of the row, depending on how many rows of shawl you made. It’s ok. Work an extra sc in the last st of the row if needed to set up the next row. You won’t notice the difference in the end.
Row 3: Using C3, ch 2, dc 3 in first sc, *sk to the first sc of the next repeat, shell in that sc,* repeat to last sc, dc 3 in last sc.
Row 4: Using C4, ch 1, sc in first dc, working around the stitches of row 3, *dc 3 in the picot of row 2, sc in the tr of the shell in row 3* repeat to end, sc in last dc.
Row 5: Using C5, rsc in ea st.
Either continue to Optional Top Edging or fasten off and weave in all ends.
Optional Top Edging:
If you did not weave in your ends as you went through the pattern and now dread the endless monotony of weaving them in, use this edging.
Row 1: Continuing from Row 5 of Edging, ch 1, sc across the top edge of the shawl, working all your ends under as you go.
Fasten off and weave in the end.
Finishing Touches
Using fabric glue, add toggle buttons at chest level. I put the shawl on and marked where I wanted mine, then glued them in place. The exact placement will vary based on your size, so I recommend this method.
Note: Fabric glue will hold better and wash better in the long run then hot glue or other types of craft glue. If you have the time and energy, sewing the toggle buttons adds security.
Add tassels to the three points for extra drama.


